Point Shooting: How It Works and How Far It Holds Up
Point shooting in 60 seconds (BLUF)
- What it is: Firing a pistol without looking at the sights. Your eyes stay on the target and your grip and body position point the gun. It is also called instinctive shooting, body index shooting or unsighted fire.
- What it buys you: Time. In one timed test at arm’s length, the point shooter broke his first shot in 0.91 s and the sighted shooter in 1.12 s. Both shots were A-zone hits.
- Where it stops working: At about 2.5 yards the point-shot hits were already spreading. By 5-6 yards the sighted shooter said he wanted his sights, and at 12 yards the first point shot missed the target completely.
- Why: At 3 yards you can point the gun 1.6° off center and still stay inside the 6-inch-wide A-zone. At 7 yards you only get 0.68°, and at 15 yards 0.32°. On a full-size pistol, 0.68° is about the same as the front sight sitting 2 mm off center in the notch.
- Train it: Use a distance ladder with a shot timer app. It shows you the distance where your own point shots stop being worth the time they save.
Point shooting is a way of shooting a pistol without using the sights. You keep both eyes on the target, push the gun out with the same grip every time, and let your body’s natural point of aim put the muzzle where you are looking. Some instructors call it instinctive shooting or body index shooting. Retention shooting from the hip is the most extreme form of it. It is faster than aimed fire because you skip the step of finding the front sight. The cost is accuracy, and that cost goes up quickly as the target gets farther away.
That cost is why point shooting starts more arguments on shooting forums than almost any other topic. One side says nobody looks at their sights in a real fight, so training with sights is training for a fantasy. The other side says point shooting is a crutch for people who never learned to shoot. Both sides make one mistake. They argue about whether point shooting works, when the useful question is how far it works. That is a measurement problem, and a shot timer with a tape measure can answer it.
This guide covers what point shooting is, where it came from, what a timed sights-versus-no-sights test showed at 1 to 12 yards, and the geometry that explains those results. It ends with drills that find your own crossover distance.
Point Shooting vs Flash Sight Picture vs Aimed Fire
Point shooting means you don’t use the sights at all. A flash sight picture means you glance at them. Aimed fire means you confirm them. It helps to think of these as three points on one scale, not as competing schools. The question each one answers is how much sight confirmation this particular shot needs.
With aimed fire, you focus on the front sight, center it in the rear notch and press the trigger while you hold that picture. It is the slowest of the three and the most precise, and it is what you use for a 25-yard head box. A flash sight picture is the quick glimpse most competitive shooters use on close targets. You see a blurry front sight or a dot somewhere near the middle of the target and break the shot right away. Our pistol aiming guide covers all four sight pictures in detail. Point shooting removes even that glimpse. Your eyes never leave the target, so the gun has to arrive already pointed at it.
That last part is the real lesson of point shooting. It isn’t magic and it doesn’t run on instinct. It depends on index: the gun has to come up to the same place in your vision every time, and that only happens when your grip, stance and press-out are the same every time. A shooter whose two-handed grip shifts from rep to rep will point-shoot just as inconsistently. So point shooting is a test of the grip, which is why our pistol grip guide belongs on the same reading list.
Where Point Shooting Came From
Modern point shooting goes back to the Second World War. William E. Fairbairn and Eric A. Sykes developed it from their years with the Shanghai Municipal Police and taught it to British Commandos. They published it in 1942 as Shooting to Live. Rex Applegate adapted that program for the American OSS soon after the OSS was created that same year, and his book Kill or Get Killed was first printed in 1943. It went through several editions and was republished by the U.S. Marine Corps in 1991 as FMFRP 12-80.
Applegate’s method had a few clear rules: lock the shooting arm, raise the pistol from the shoulder into the line of sight, squeeze the whole hand convulsively, and turn at the waist instead of swinging the arm. He also tested it in a “house of horrors,” a close-range course where surprise targets appeared no farther than 10 feet away. Across 500 men, the average before point-shooting training was 4 hits out of 12 targets. After training it was 10 out of 12. That jump from 33% to 83% is the strongest evidence point shooting has. Notice the condition, though: every target was within 10 feet.
Later in the century the pendulum swung back toward the sights. Practical pistol shooting, the competitive tradition that became IPSC, showed again and again that a fast flash sight picture beat point shooting once targets moved past a few yards. Today most instructors teach some version of “see what you need to see.” Point shooting at contact distance, a flash picture a little farther out, and full confirmation for small or distant targets. The argument has largely become a question of where each method starts and stops.
How Far Does Point Shooting Work? A Timed Test
In a timed test at 1 to 12 yards, point shooting won on speed at every distance but lost on accuracy from about 2.5 yards out, and it failed completely at 12 yards. The test was run on camera by John Lovell and Paul Perkerson of Warrior Poet Society, both full-time firearms instructors. They shot IPSC targets for A-zone hits on a buzzer, and both of them had to reach full presentation before firing, so it wasn’t a contest of who could shoot from the hip first. Paul point-shot with a pistol that had no sights at all, so he couldn’t have used them even if he wanted to. John made himself see his sights on every shot.
At arm’s length, Paul broke the shot in 0.91 seconds and John in 1.12. Both shots were A-zone hits. That 0.21-second gap is almost a quarter of a second, and seeing the sights bought John nothing at that distance. At about 2.5 yards, Paul was faster on every shot, but his hits were starting to spread while John’s stayed tight. They agreed that at this distance they would still take Paul’s speed. At five or six yards, Paul was still faster every time, but John said plainly that he wanted his sights here, because a two-inch spread is a real cost when the target is small. At seven or eight yards, Paul put one round in the A-zone and one in the C-zone. At 12 yards, Paul had nothing to line up, so his speed was no different from his 2.5-yard shots. His first shot missed the target completely. The second one landed in the A-zone, and John called it a lucky shot.
The two instructors were honest about the limits of their test. John draws fast and picks up his sights very early, which favors the sighted side. Paul has so many years of sighted shooting behind him that his index is far better than an average shooter’s, which favors the point-shooting side. When asked how likely it is that someone without that background could get A-zone hits at these distances without looking, Paul said “low percentage.” So treat their distances as an upper bound. Most people will reach their limit closer in.
The Geometry: How Much Error the A-Zone Forgives
Point shooting fails with distance because the angle you are allowed to be off shrinks as the target gets farther away. If you aim at the center of a USPSA/IPSC A-zone, which is 6 inches wide and 11 inches tall, you have 3 inches on each side before the hit leaves the A-zone. The largest angle that still keeps the hit inside is arctan(3 inches ÷ distance). That works out to arctan(1 ÷ (12 × yards)). Here is what that means at the distances you actually shoot.
| Distance | Allowed left-right error | Same error as front sight off center by |
|---|---|---|
| 1 yd (0.9 m) | 4.76° | 13.8 mm |
| 2.5 yd (2.3 m) | 1.91° | 5.5 mm |
| 3 yd (2.7 m) | 1.59° | 4.6 mm |
| 5 yd (4.6 m) | 0.95° | 2.8 mm |
| 7 yd (6.4 m) | 0.68° | 2.0 mm |
| 10 yd (9.1 m) | 0.48° | 1.4 mm |
| 15 yd (13.7 m) | 0.32° | 0.9 mm |
The third column turns the angle into something you can picture. On a full-size pistol with about 6.5 inches (165 mm) of sight radius, an angle error shows up as the front sight sitting off center in the rear notch. The math is simple: 13.75 mm divided by the distance in yards. At 3 yards, the front sight could sit almost 5 mm off center and you would still hit the A-zone, which is a sloppy sight picture. That is why point shooting works at contact range: your index only has to be roughly right. At 7 yards the allowance is 2 mm. At 15 yards it is less than a millimeter. No one can hold that by feel while their eyes are on the target.
The table matches the timed test closely. Paul’s hits started to spread between 2.5 and 6 yards, which is where the allowance drops from about 2° to under 1°. His miss at 12 yards came at 0.4°. Two more details are worth knowing. First, you get more room up and down than side to side. The A-zone is 5.5 inches tall on each side of center, so the vertical allowance is about 1.8 times the horizontal, and width is what limits you. Second, if your standard is an 8-inch plate instead of an A-zone, multiply every distance in the table by 4/3. An 8-inch plate at 4 yards forgives the same angle as the A-zone at 3 yards.
How to Point Shoot: Grip, Eyes and Natural Point of Aim
To point shoot, square up to the target, keep both eyes open and focused on it, and press the gun out with a high, consistent grip so the thumb points along the barrel at the spot you want to hit. Mark “Coch” Cochiolo, a retired Navy SEAL who teaches the technique, breaks it down this way.
Eyes. Both eyes stay open and focused on the target, not on the front sight. Under stress this is what your eyes do anyway, so you are training the way you will actually look. You will still see a blurry double “ghost image” of the gun. Ignore it for the first shot.
Natural point of aim. Square your body to the target. Your natural point of aim comes off your centerline, so if your body faces the target and your grip is the same every time, the gun lines up with your centerline without any correction. This is the same idea as natural point of aim in precision shooting. The difference is that you set it with your feet and torso instead of fine-tuning it with the sights.
The thumb index. Build the grip with the base of the thumb high so the whole thumb points down the barrel. Then, as you press out, simply point your thumb at the target. Everyone points at things with a finger all day, and the thumb does almost the same job. If the barrel sits right beside the thumb, it points where the thumb points. Coch’s demonstration was at about 7 yards on a reduced-size silhouette. The geometry table says that is already near the edge for an A-zone-sized target, so start closer than that.
Press out and keep working the trigger. Start the trigger press as the gun moves toward the target, so the shot breaks as soon as you reach full extension. Applegate’s version adds a locked arm and turning from the waist, which keeps the gun and your eyes moving together when you switch to a new target. Applegate himself noted that true hip shooting only works on targets at your own level and at very close range. Every shot in the test above was fired from full presentation, and that’s where you should train.
Point Shooting Drills With a Shot Timer
The goal of point-shooting practice is to measure how far your own index holds up. Feeling fast tells you nothing. Here are three drills, from cheapest to most useful.
1. Index check (dry, free). Choose a spot on the wall. With your eyes on it, press the empty gun out and freeze at full extension. Only then shift your focus to the sights and see where they are. If they are off, notice which way and fix your grip, not your arms. Coch points out that this costs no ammunition, and most ranges that don’t allow drawing from the holster will still let you start from high ready. The dry fire training guide has the safety rules for practicing at home.
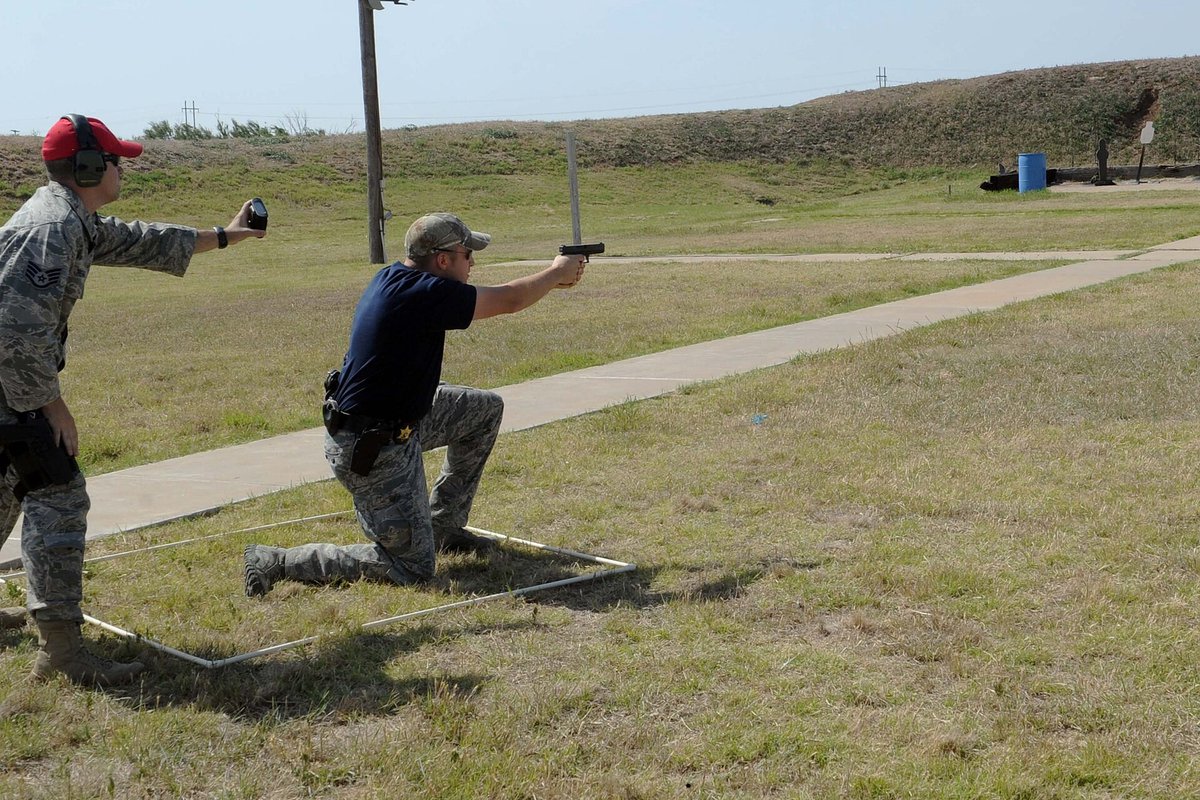
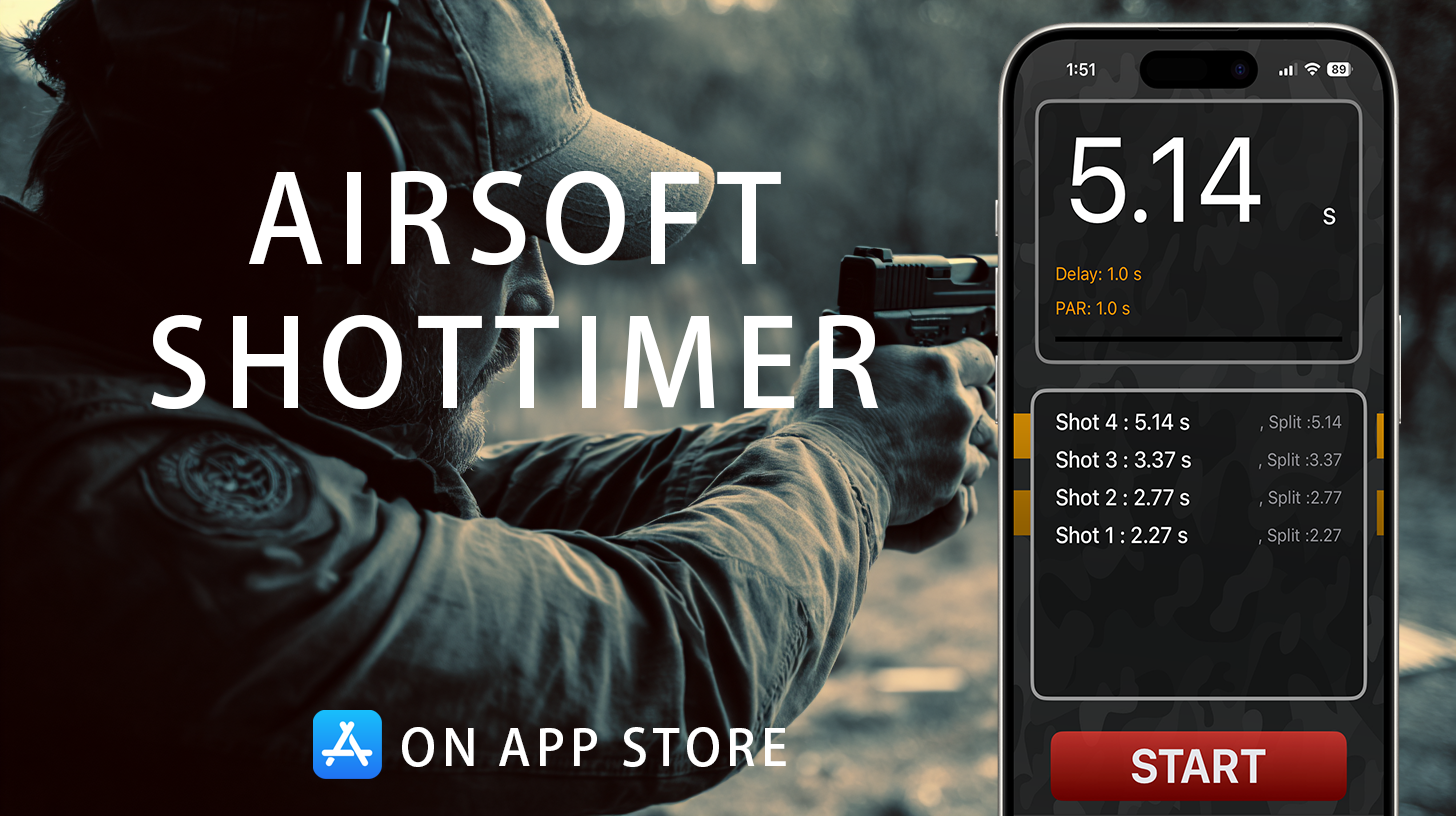
2. Distance ladder (live fire). Set one target and shoot from 1, 2.5, 4, 5 and 7 yards. At each distance, fire ten one-shot reps without sights from a random start beep, and write down the time and the zone you hit. Then repeat each distance with a deliberate flash sight picture. Your crossover is the distance where your no-sight A-zone rate drops below about 8 out of 10. For most people that is shorter than they expect. The random delay matters here, because a predictable beep lets you start early and makes point shooting look faster than it really is. The Airsoft Shot Timer app has a random delay setting and logs every rep, so the ladder fits on one screen.
3. Is the speed worth the points? (the hit factor test). USPSA and IPSC have a built-in answer to this question, and it’s simple division. Dropping an A to a C costs 2 points with minor power factor. The time you have to save to break even is those 2 points divided by your hit factor. At a hit factor of 6, you would need to save 0.33 seconds. At 10 you would need 0.20 seconds, and at 12 only 0.17. The 0.21 seconds that point shooting saved at arm’s length only covers an A-to-C downgrade if you already shoot around a hit factor of 10. So point shooting pays only at contact distance, where you don’t lose the A anyway. One step farther out, where it starts turning A’s into C’s, most club shooters lose more points than the time is worth.
To set par times, use the ladder results. Take your average time for a point shot at your crossover distance as the par, then try to make the sighted version match it. Once the flash-sight time gets close to the point-shot time, you have the skill that actually matters: sighted shots that are almost as fast as unsighted ones.
Point Shooting in Airsoft CQB
Airsoft is one of the best places to practice point shooting, because you can see the BB fly. With a gas blowback pistol at the short distances of an indoor CQB field, you can watch your misses happen and find out right away whether your index points where you think it does. You don’t have to walk up to a paper target to learn that you shot left. Light recoil helps you learn the eye and grip part. It doesn’t train recoil control, so don’t take the speed you see with a GBB as proof that your real-steel point shooting is that fast.
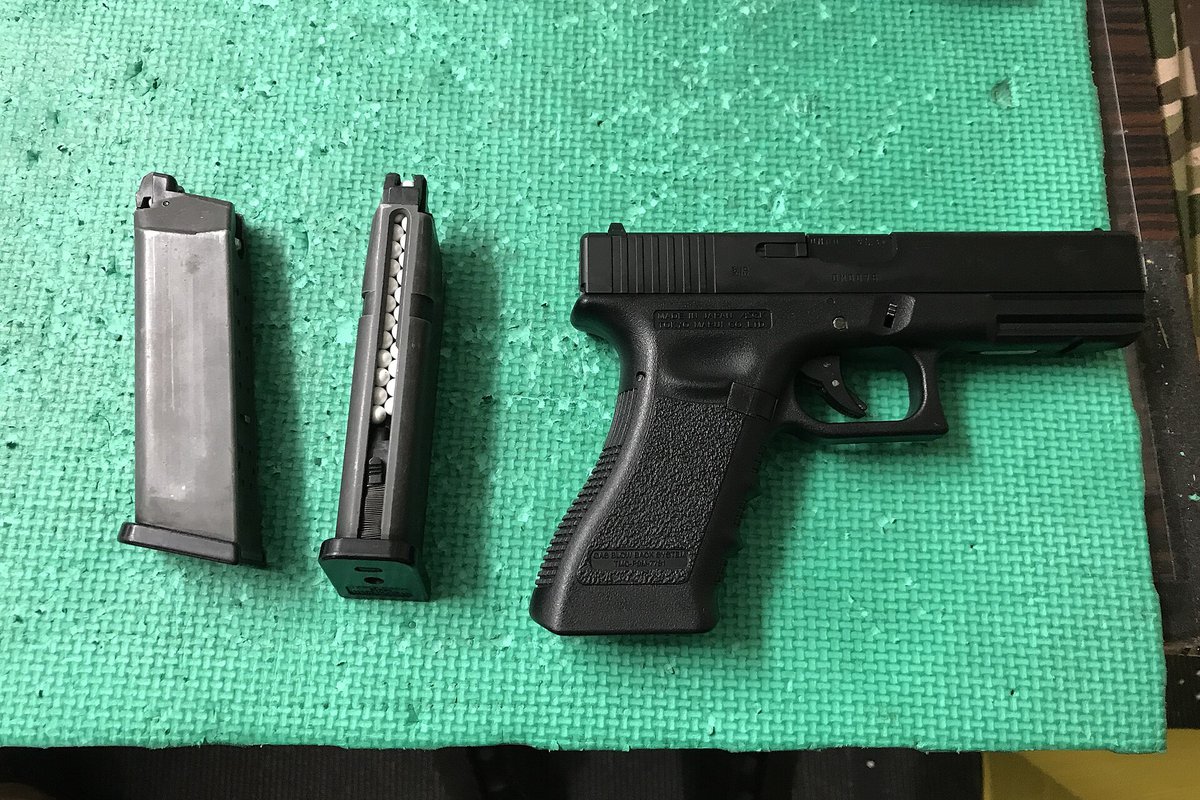
The geometry works the same way. Corner shots in an airsoft house are mostly within a few meters, which is the 1 to 3 yard band where the table gives you more than a degree and a half of error. At those distances, a target-focused shot after rounding a doorway really is faster than finding a dot, and it is a habit worth building. Our airsoft CQB tactics guide covers movement and room entry. One airsoft-specific note: hop-up lift and drift only start to matter well beyond typical room distances, so inside a building the BB goes roughly where the barrel points. Past a few meters, though, the angle allowance drops below a degree here just as it does with real steel. If you shoot IPSC Action Air on IPSC targets and scoring, the hit factor math above applies without any change. Eye protection is not optional for anyone in the room. Fast unsighted shooting puts more BBs into walls and steel, and more of them bounce back.
Frequently Asked Questions
What is point shooting?
Point shooting is shooting a pistol without using the sights. Your eyes stay on the target, and a consistent grip, stance and press-out point the gun where you are looking. It is also called instinctive shooting or body index shooting, and it is mainly used at very close range where speed matters more than precision.
How far does point shooting work?
For most shooters, point shooting is reliable only within about 2 to 3 yards. On an A-zone-sized target, the allowed aiming error is about 1.6° at 3 yards but only 0.68° at 7 yards and 0.32° at 15 yards. In one timed test, an experienced point shooter’s hits began spreading at 2.5 yards and his first shot missed the target entirely at 12 yards.
Is point shooting still taught?
Yes, but mostly as a close-range tool and not as a replacement for the sights. Many defensive and military courses teach unsighted or retention shooting for contact distances, and use a flash sight picture or full sight alignment beyond that. The common modern principle is “see what you need to see” for the shot in front of you.
Is point shooting faster than using the sights?
Yes, because it skips finding the front sight. In a timed test at arm’s length, a point shot broke in 0.91 seconds against 1.12 seconds with sights, and both hits were in the A-zone. The speed advantage stays about the same as the distance grows, but the accuracy doesn’t, so the trade gets worse with every step back.
Can I practice point shooting with airsoft?
Yes. A gas blowback airsoft pistol lets you see where each BB goes, so you get instant feedback on whether your index is on target. It’s a good way to build the grip and target-focus habit, but airsoft recoil is much lighter, so it won’t tell you how fast you can point-shoot a real pistol.
The Takeaway
Point shooting is real, it’s fast, and it works over a much shorter distance than either side of the forum argument admits. At arm’s length it is about a fifth of a second faster for the same hit. By about 3 yards your index has less than two degrees of room, by 7 yards less than one, and by 12 yards a no-sight shot is close to a coin flip even for an expert. So don’t ask whether point shooting works. Ask where your own crossover distance is. Run the distance ladder, log every rep against a random beep, and let the numbers decide. The free Airsoft Shot Timer app is all you need to start.
Image credits: cover — Staff Sgt. Leanna Russell, U.S. Army National Guard (public domain); indoor range — Staff Sgt. Servante Coba, U.S. Marine Corps (public domain); shot timer — Senior Airman Leandra Stepp, U.S. Air Force (public domain); airsoft pistol — Ominae, CC BY-SA 4.0. Photos illustrate pistol training in general; they are not from the test described above.


Put a Shot Timer in Your Pocket
Airsoft Shot Timer is a free shot timer app tuned for airsoft and Action Air — it picks up BB gun shots, tracks your split times, and saves you the cost of a $150+ hardware timer for IPSC/IDPA practice.

- Point Shooting
- Instinctive Shooting
- Body Index Shooting
- Unsighted Fire
- Point Shooting Technique
- Flash Sight Picture
- Pistol Aiming
- Close Quarters Shooting
- Pistol Training
- Shooting Drills
- Hit Factor
- USPSA
- IPSC
- Shot Timer
- Par Time
- Airsoft
- Airsoft CQB
- GBB Pistol
- Dry Fire