USPSA Beginner Guide 2026: Hit Factor Scoring, Classification & Your First Match Checklist
What Is USPSA?
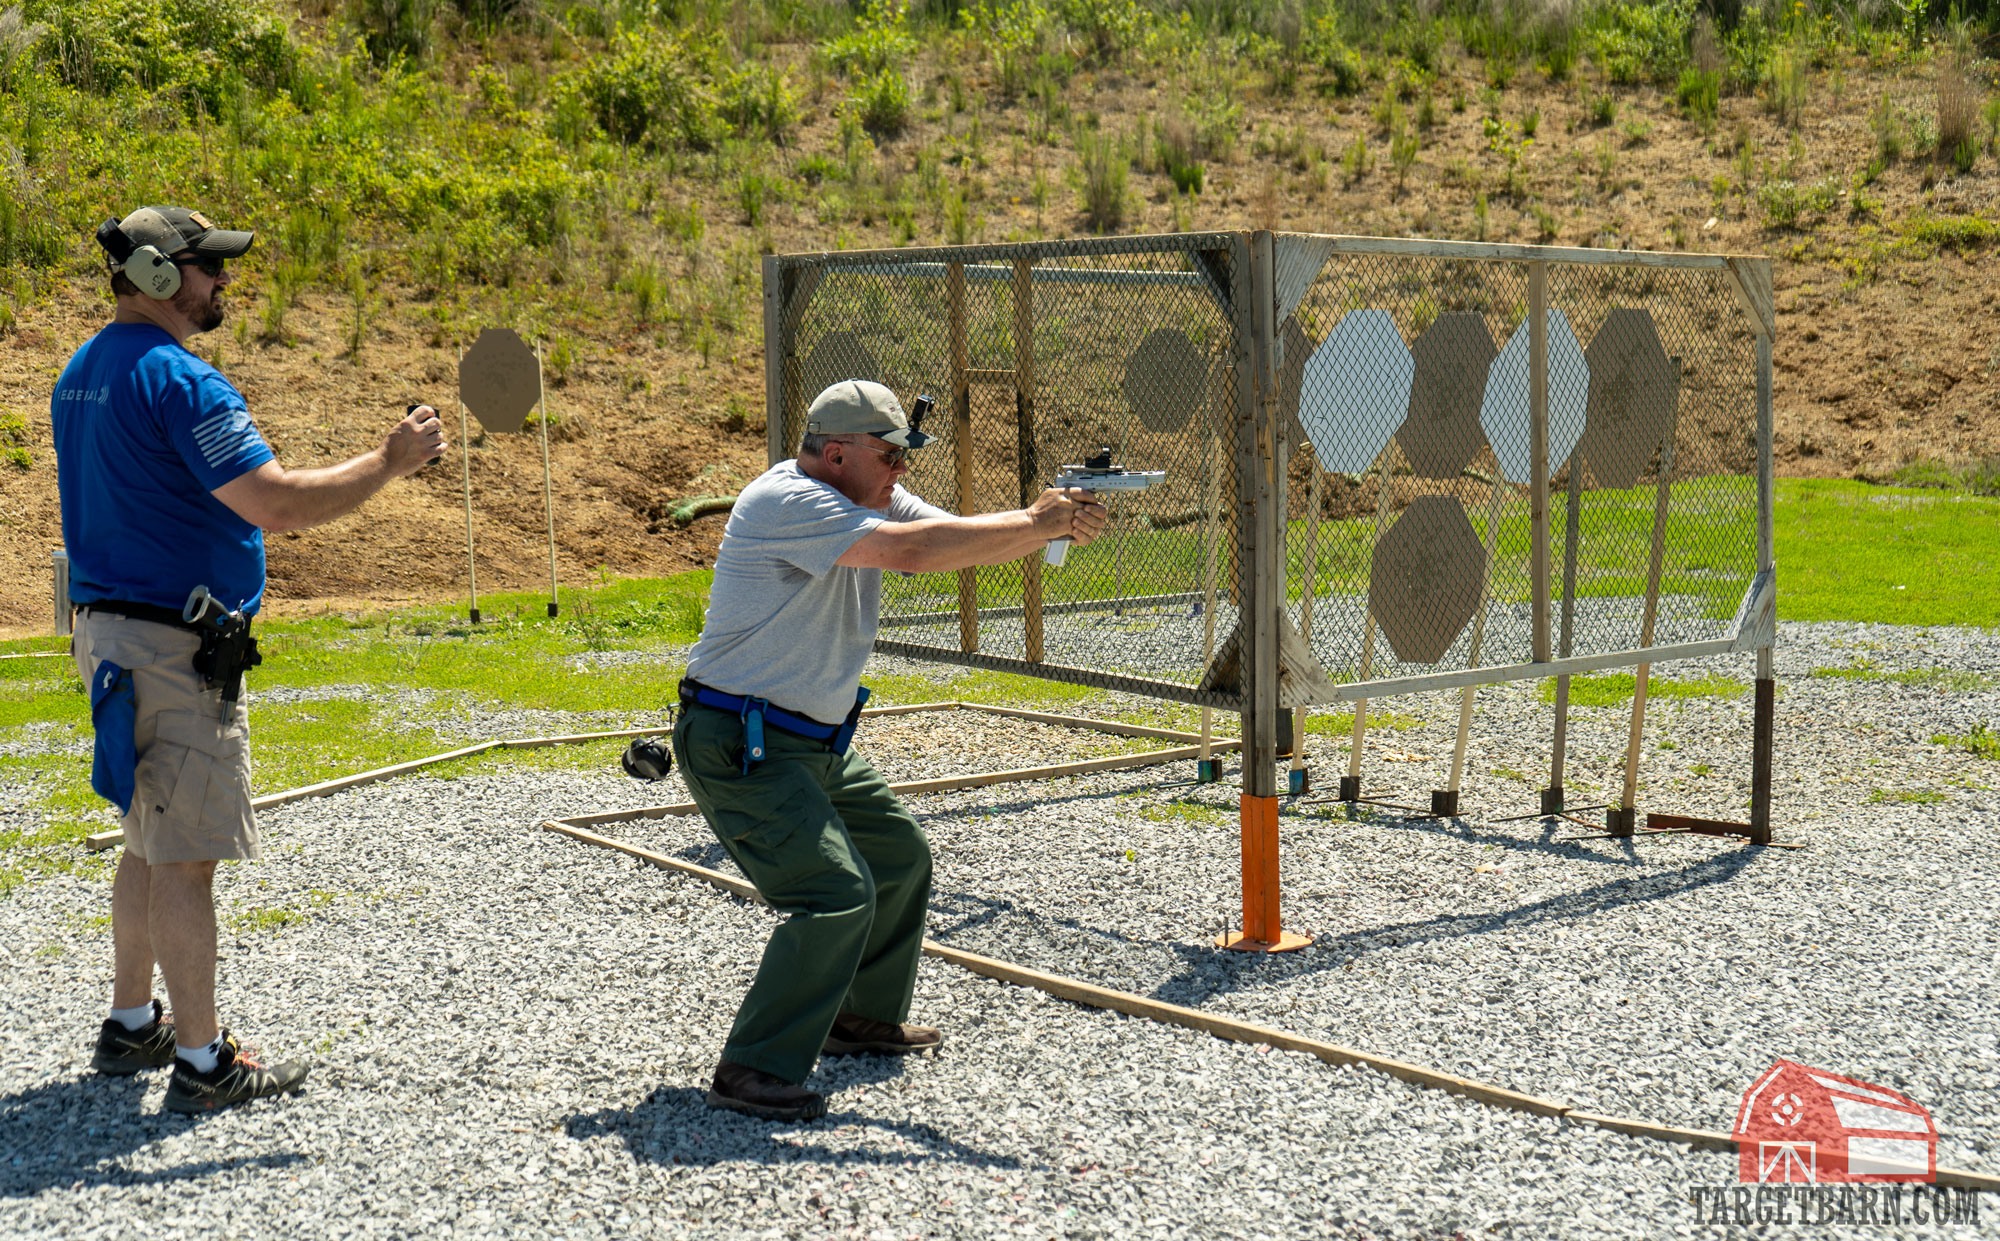
If you’re in North America and interested in competitive shooting, USPSA (United States Practical Shooting Association) is almost impossible to avoid. As the U.S. affiliate of IPSC (International Practical Shooting Confederation), USPSA is the largest and most active practical shooting platform in North America, with hundreds of local matches held across the country every week.
USPSA’s core philosophy is aligned with IPSC — combining Speed, Accuracy, and Power. Shooters move dynamically through stages, engage multiple targets precisely, and complete each course of fire in the shortest time possible. Unlike static range shooting, USPSA requires you to shoot on the move, navigate obstacles, execute rapid magazine changes — every match is a comprehensive test of shooting skill, physical fitness, and decision-making.
Whether you’re a handgun owner looking to try your first match, or an experienced IPSC or IDPA shooter wanting to understand USPSA’s rule differences, this guide provides everything you need to get started.
What This Guide Covers
- Complete introduction to all USPSA divisions with selection advice
- In-depth Hit Factor scoring system breakdown
- Classification system and progression path
- Key rule differences between USPSA and IPSC
- Complete first match preparation checklist
- Shot Timer training methods for USPSA skill development
💡 Further Reading: If you’re more interested in international competition, check out our Complete IPSC Practical Shooting Training Guide. For defense-oriented shooting sports, see our Complete IDPA Defensive Shooting Training Guide.
🎯 The one piece of gear you’ll use at every practice: USPSA is scored by Hit Factor = points ÷ time. That means your score is literally a stopwatch reading — and the shooters who climb from D to A class are the ones who measure every draw, split, and reload instead of guessing. You don’t need a $150 hardware timer to start. The free Airsoft Shot Timer App gives you a random-delay start beep, records your draw-to-first-shot and split times, and lets you set PAR times for dry-fire reps at home — the exact benchmarks in the training table further down. Pull it up before your next session and you’ll practice like you compete.
Which Division Should You Start In?
USPSA sorts competitors into divisions by equipment, and for a first match the decision is far simpler than the rulebook makes it look: shoot whatever your current pistol already fits. If your 9mm has iron sights, that means Production or Limited. If it wears a slide-mounted red dot, that means Carry Optics — the largest division in the sport by a wide margin. If it has a compensator or a factory flared magwell, the answer changes, and that is where beginners most often find themselves entered in a division they did not expect.
That is genuinely all you need to decide before your first match. Do not buy equipment to qualify for a division you have never shot — squads are full of borrowed and bone-stock guns, and nobody cares what you turned up with.
For the complete rules of all eight divisions — capacity gauges and weight limits, which four divisions can score Major, what each one realistically costs to set up, and the three equipment traps that quietly move people into Open — see our dedicated USPSA Divisions Explained guide. The rest of this guide covers everything that happens after you have picked one: how scoring actually works, how you get classified, and the first-match preparation nobody tells you about.
📅 Updated for the 2026 rulebook: USPSA’s Competition Rules were revised effective March 1, 2026. The changes most relevant to new shooters are a new requirement that no-shoot targets and scoring targets be clearly different colors (no more white-on-white poppers) and a clarified definition of “facing downrange.” It’s worth pulling the current rulebook from uspsa.org so you’re reading the same version your match director is.
USPSA Scoring System In-Depth
Understanding USPSA’s scoring system is key to mastering match strategy. Unlike IDPA’s “time plus penalty” approach, USPSA uses the more nuanced Hit Factor scoring that rewards the optimal balance of speed and accuracy.
Target Zones and Points
USPSA paper targets have three scoring zones: Alpha (A), Charlie (C), and Delta (D). Points depend on your Power Factor:
| Zone | Major PF | Minor PF |
|---|---|---|
| Alpha (A) | 5 pts | 5 pts |
| Charlie (C) | 4 pts | 3 pts |
| Delta (D) | 2 pts | 1 pt |
| Mike (Miss) | -10 pts | -10 pts |
| No-Shoot (Non-target hit) | -10 pts | -10 pts |
| Procedural | -10 pts | -10 pts |
Important Rule: If a bullet hole touches the line between two zones, the higher score is awarded.
What Does This Mean?
Look at the Major vs Minor gap:
- Alpha hit: Both Major and Minor score 5 points — no difference
- Charlie hit: Major scores 4, Minor scores 3 — 1-point gap
- Delta hit: Major scores 2, Minor scores 1 — 1-point gap
This means if every shot is an Alpha, Major and Minor are identical. But in reality, not every shot will be an Alpha, so Major Power Factor has a clear scoring advantage on Charlie and Delta hits. This is why top Limited and Open shooters typically choose Major.
Hit Factor: The Core Formula
Hit Factor = Total Points ÷ Time (seconds)
Example:
- Shooter A: 120 points in 15 seconds → Hit Factor = 8.00
- Shooter B: 115 points in 13 seconds → Hit Factor = 8.85
Shooter B scored fewer points but was faster, resulting in a higher Hit Factor, so Shooter B wins.
This is the essence of USPSA — you need to find the optimal balance between speed and accuracy. All Alphas but too slow won’t necessarily beat a fast shooter with a few Charlies.
Three Scoring Methods
Comstock (Most Common)
- Shooters can fire unlimited rounds
- Best 2 hits per paper target are scored
- Steel targets must fall to score
- The only method that allows steel targets
- Used for all stage types
Virginia Count (Limited Rounds)
- Unlimited time, but round count is specified
- Each extra shot beyond the specified number incurs a Procedural Penalty (-10 points)
- Extra hits on scoring zones also incur additional penalties
- Paper targets only — no steel
- Commonly used for Classifiers and Standards
Fixed Time
- All shooting must be completed within a set time
- Less commonly used
Power Factor Calculation
Power Factor = (Bullet Weight in grains × Velocity in fps) ÷ 1,000
- Minor Power Factor: 125 and above
- Major Power Factor: 165 and above
Example: 124gr 9mm bullet at 1,050 fps → PF = (124 × 1,050) ÷ 1,000 = 130.2 (qualifies as Minor)
💡 Want to learn more about Power Factor and ammunition selection? See our Complete Handgun Ammunition & Caliber Guide.
USPSA Classification System
USPSA uses a percentage-based classification system to measure shooter skill levels, giving you a clear picture of where you stand among shooters in the same division.
Seven Levels
| Class | Code | Percentage Range | Description |
|---|---|---|---|
| Grand Master | GM | 95-100% | National-level elite |
| Master | M | 85-94.99% | High-level competitor |
| A Class | A | 75-84.99% | Experienced competitor |
| B Class | B | 60-74.99% | Intermediate shooter |
| C Class | C | 40-59.99% | Developing shooter |
| D Class | D | Below 40% | Entry-level shooter |
| Unclassified | U | — | Not yet classified |
How to Get Classified
- Complete 4 different Classifier Stages in the same division
- The system calculates your percentage based on your scores
- The system retains your most recent 8 valid scores for averaging
- Classification is independent per division — your B Class in Production doesn’t affect your Carry Optics classification
Realistic Classification Goals
For new shooters, a practical progression might be:
- Year 1: From Unclassified to D Class or C Class
- Year 2: Stable C Class, targeting B Class
- Year 3+: B Class to A Class depending on training commitment
💡 Using a Shot Timer to systematically train Classifier Stage drills is the most effective way to improve your classification. See our pistol drill par time table for more.
Key Differences Between USPSA and IPSC
If you’re already familiar with IPSC rules, understanding USPSA’s differences is crucial. Although USPSA is an IPSC affiliate, the two have notable rule differences.
Major Rule Differences
| Aspect | USPSA | IPSC |
|---|---|---|
| Production Modifications | Internal mods allowed (trigger work, parts swap) | Strictly limited modifications |
| Production Magazines | 15-round limit | 15-round limit |
| Production Box Test | Box test required | No box test, but barrel limited to 127mm |
| Magazine Pouch Placement | Free placement on belt in all divisions | Only Open allows free placement; others behind hip bone |
| Race Holsters | Not allowed in Production/CO | Race holsters allowed |
| Scoring Method | Hit Factor (all divisions) | Hit Factor + Stage Factor |
| Classification | Percentage-based (GM/M/A/B/C/D) | Different classification system |
Practical Impact for Shooters
- Equipment Transfer: If switching from IPSC to USPSA Production, your race holster may not be legal — you’ll need a compliant holster
- Magazine Pouch Placement: USPSA allows more freedom in magazine pouch positioning for optimized reloads
- Modification Space: USPSA Production allows more internal modifications like trigger tuning
- Classification: IPSC and USPSA classifications don’t transfer — you’ll need to build your USPSA classification from scratch
💡 Want to know more about IPSC match procedures? Check out our IPSC Match Procedure & Preparation Guide.
Your First USPSA Match: Complete Preparation Guide
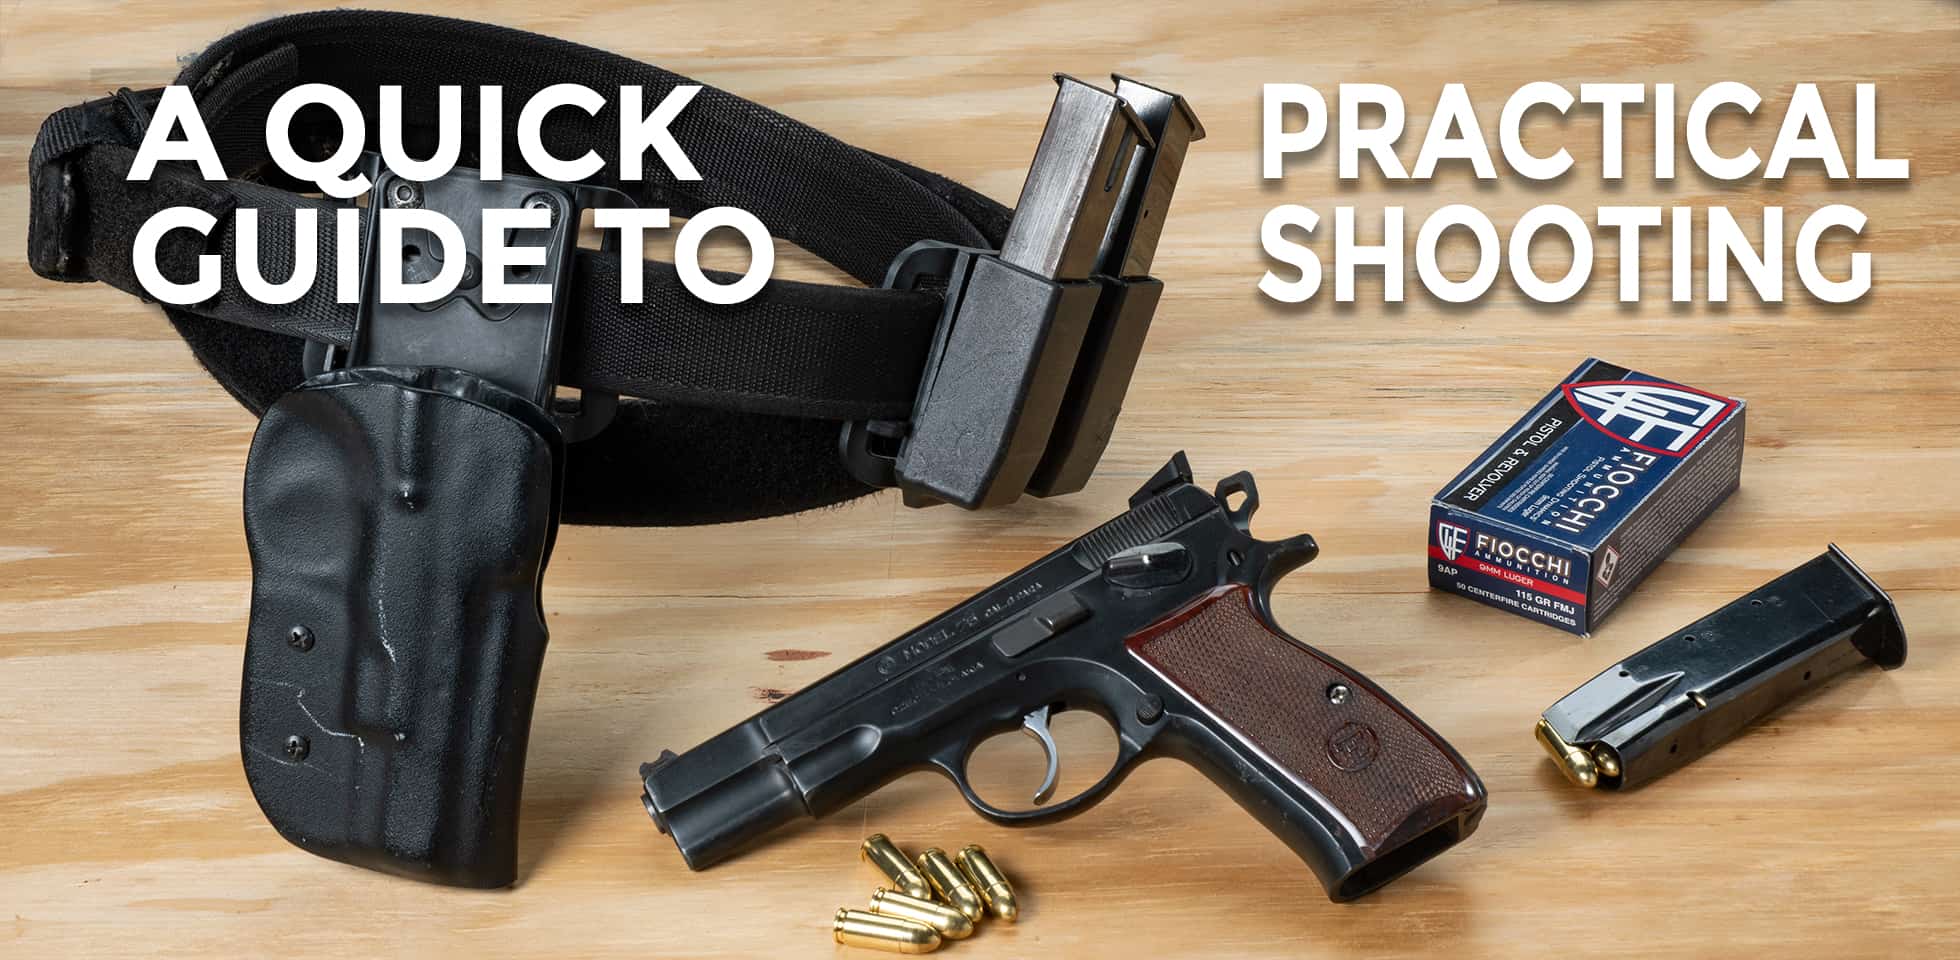
Essential Equipment Checklist
| Equipment | Description | Estimated Cost |
|---|---|---|
| Pistol | 9mm or larger semi-automatic | $400-800 |
| Holster | Kydex belt holster, trigger covered, muzzle down | $40-80 |
| Magazines | At least 3-4 (5+ recommended) | $80-150 |
| Magazine Pouches | At least 2-3 belt-mounted pouches | $40-100 |
| Belt | Daily belt works; competition double-layer belt ideal | $0-120 |
| Ammunition | 200-300 rounds (more is better) | $60-100 |
| Eye Protection | ANSI Z87.1 rated | $15-40 |
| Ear Protection | Electronic earmuffs ideal | $20-80 |
Beginner Budget Estimate (Production): $655-1,470
💡 For more equipment guidance, see: Competition Holster Guide, Competition Magazine Pouch Guide, competition belt setup: where each item goes.
USPSA Membership
- Annual fee: $40 USD/year
- Register at uspsa.org
- Non-members can participate in local matches (most clubs welcome new shooters)
- You’ll need a free Practiscore account to register for matches
Finding Matches
- Register an account at practiscore.com
- Search for USPSA matches in your area
- Many clubs hold 1-2 local matches per month
- Beginners should start with Club Matches / Level 1 Matches
10 Tips for Your First Match
Before the Match:
- Arrive Early: Get there 30 minutes before registration to familiarize yourself with the venue
- Find the Match Director: Let them know you’re new — they’ll arrange a New Shooter Briefing
- Introduce Yourself: The USPSA community is incredibly welcoming; asking questions is encouraged
During the Match:
- Safety First: Remember the 180-degree rule — your muzzle must never break the 180-degree plane on either side. Breaking this rule results in an immediate DQ (Disqualification)
- Finger Off the Trigger: During movement and reloads, your finger must be outside the trigger guard
- Don’t Chase Speed: Time won’t get you DQ’d — unsafe handling will
- Listen to the Stage Briefing: Pay attention to shooting order, mandatory reload positions, Virginia Count round limits, etc.
- Help Out: Competition isn’t just shooting — volunteer to paste targets, reset steel, and record scores
Mindset:
- Ignore the Rankings: Your first match goal is “complete safely,” not winning
- Don’t Be Discouraged by a DQ: Stay and watch other shooters — you’ll gain invaluable experience
💡 Safety rules are critical in competition. Be sure to read our Complete Shooting Safety Rules Guide.
Match Day Timeline
| Time | Activity |
|---|---|
| 30 min before | Arrive, sign in, set up equipment |
| 15 min before | New shooter briefing, safety check |
| Match start | Squad walk-throughs, begin stages |
| Each Stage | Walk-through → Check in → “Make Ready” → Shoot → “Range is Clear” |
| After match | Help tear down, check scores |
Shot Timer and USPSA Training
A Shot Timer is an indispensable training tool for USPSA shooters. In matches, the Range Officer uses a Shot Timer for timing, and you should use one extensively in practice to track your progress.
Key Metrics to Track
1. Draw to First Shot
| Class | Production | Carry Optics |
|---|---|---|
| D Class | 2.0+ sec | 2.0+ sec |
| C Class | 1.5-2.0 sec | 1.5-2.0 sec |
| B Class | 1.2-1.5 sec | 1.2-1.5 sec |
| A Class | 1.0-1.2 sec | 1.0-1.2 sec |
| M/GM | < 1.0 sec | < 1.0 sec |
2. Split Times
| Class | Close Range (7m) | Medium Range (15m) |
|---|---|---|
| D Class | 0.30+ sec | 0.40+ sec |
| C Class | 0.20-0.30 sec | 0.30-0.40 sec |
| B Class | 0.18-0.22 sec | 0.25-0.30 sec |
| A Class | 0.15-0.18 sec | 0.20-0.25 sec |
3. Reload Times
| Class | Standing Reload | Reload on the Move |
|---|---|---|
| D Class | 3.0+ sec | 4.0+ sec |
| C Class | 2.0-3.0 sec | 3.0-4.0 sec |
| B Class | 1.5-2.0 sec | 2.0-2.5 sec |
| A Class | 1.2-1.5 sec | 1.5-2.0 sec |
Core USPSA Training Drills
Bill Drill
- 7 yards, draw and fire 6 rounds
- Target: All Alphas
- D Class goal: < 4.0 seconds
- B Class goal: < 2.5 seconds
- Focus: Draw speed, split time control
El Presidente
- 10 yards, start facing away, turn and engage 3 targets with 2 rounds each, reload, 2 more rounds each
- D Class goal: < 12 seconds
- B Class goal: < 7 seconds
- Focus: Turn, multi-target transitions, reloads
Blake Drill
- 7 yards, draw and fire 1 round at first target, move to another position and engage second target
- Focus: Shooting rhythm during movement
💡 For more drills, see our pistol drill par time table. Use a Shot Timer App for dry fire training at home — see our Shot Timer App Complete Guide.
Training Periodization with Shot Timer
Months 1-3: Foundation Building
- Dry fire 3-4 times per week, 15-20 minutes per session
- Focus on draw, sight presentation, trigger control
- Use Shot Timer to establish baseline times
Months 4-6: Speed Development
- Gradually reduce PAR times
- Add reload and multi-target transition training
- Attend 1-2 local matches per month
Months 7-12: Competition Refinement
- Targeted Classifier Stage training
- Analyze match videos to identify weaknesses
- Develop a systematic periodized training plan
💡 Want to create a complete training plan? See our Personal Shooting Training Plan Guide.
Frequently Asked Questions
Q1: I only have a Glock 19 — can I compete in USPSA?
Absolutely. A Glock 19 is a perfectly normal first-match gun. A longer-slide Glock 34 or 17 gives you a better sight radius, but that difference matters far less than turning up and getting reps. The priority is experience — you can upgrade equipment later, once you actually know what you want. (Which division it lands you in depends on the sights and magwell; the divisions guide has the specifics.)
Q2: USPSA or IPSC — which is better for beginners?
If you’re in North America, USPSA is more practical because local matches are far more frequent. USPSA matches happen virtually every week, while IPSC matches in North America are relatively rare. Rule-wise, USPSA Production allows more internal modifications, offering more flexibility.
Q3: How much ammo do I need for a match?
A typical local match has 4-6 stages, each requiring about 20-30 rounds. Bring 200-300 rounds — extra is always welcome, as some stages may require makeup shots.
Q4: What is a DQ? What are common DQ causes?
DQ (Disqualification) means you must immediately stop competing. Common causes include:
- Breaking the 180-degree rule (muzzle past the safety plane)
- Accidental Discharge (AD)
- Firing before the start signal
- Picking up a dropped firearm
- Finger inside the trigger guard during movement
Q5: What actually happens when I arrive at my first match?
You check in, pay the match fee, and get assigned to a squad — usually six to ten shooters who move through the stages together. There is a mandatory new-shooter briefing at most clubs; go to it even if you have read every rule online, because it covers that club’s specific range commands and safety area rules. Your gun stays unloaded and holstered all day until a Range Officer tells you otherwise, and every squad member helps reset targets between shooters. Expect to be at the range for four to six hours for a five-stage local match.
Q6: Where will I place in my first match?
Honestly, probably near the bottom — and that’s completely normal. Your real goal for your first match is: complete all stages safely, understand the match flow, and enjoy the experience. Scores will naturally improve with experience and training.
Q7: Do I need special ammunition?
For Production and Carry Optics (Minor Power Factor), standard factory 9mm FMJ ammunition (124gr, 1,050+ fps) is sufficient to meet the 125 Power Factor requirement. No need for expensive match ammo, but avoid aluminum or steel-cased ammunition as some ranges don’t accept them.
Q8: Can I reshoot a target I’ve already hit?
In Comstock-scored stages, yes — the system only counts the best 2 hits per target, so if you think your first shot was off, you can add a makeup shot. In Virginia Count stages, be careful — extra shots will result in penalties.
Q9: Can I train for USPSA at home without a range?
Absolutely — and most classification jumps are built at home, not at the range. USPSA skill is 90% draw, sight presentation, trigger control, and reloads, all of which you can rehearse with dry fire (empty gun, no ammo) or with an airsoft replica of your competition pistol. The key is that dry practice is only useful if you measure it: set a PAR time on a Shot Timer App, work your draw and reloads against the beep, and log whether you’re beating the class benchmarks in the training table above. Airsoft adds the recoil-and-hit feedback that pure dry fire lacks, letting you run Bill Drills and transitions on a scaled indoor target. See our Complete Dry Fire Training Guide for a full at-home program.
Q10: Do I need to buy an expensive shot timer to start?
No. A dedicated hardware timer runs $100–150, and it’s genuinely useful once you’re serious — but it is not where a beginner should spend first. A free Shot Timer App on your phone does everything you need for your first year: random-delay start beep, draw-to-first-shot readout, split times, and PAR-time mode for dry fire. Put that money toward a decent belt, holster, and mag pouches instead, and upgrade to a hardware timer only when you’re shooting matches regularly and want the extra durability and features.
Conclusion
USPSA is an addictive sport — once you experience the adrenaline rush of your first match, you’ll likely be eager for the next one. It tests not only your shooting skills but also your decision-making and mental composure under pressure.
Remember, every Grand Master was once a nervous beginner. What matters isn’t your current skill level, but your willingness to take that first step. Grab your pistol, bring enough ammo and a learning mindset, and go shoot your first USPSA match.
Related Articles
Competition Shooting Series:
- Complete IPSC Practical Shooting Training Guide
- Complete IDPA Defensive Shooting Training Guide
- IPSC Match Procedure & Preparation Guide
- IPSC Beginner Pistol Selection Guide
- IDPA Beginner Pistol Selection Guide
Shooting Skill Development:
- Complete Pistol Draw Technique Guide
- Complete Magazine Reload Technique Guide
- pistol drill par time table
- Complete Shooting Mental Game Guide
Equipment Guides:
- Complete Handgun Ammunition & Caliber Guide
- Complete Pistol Red Dot Sight Guide
- Complete Competition Holster Guide
- Shot Timer App Complete Guide
Put a Shot Timer in Your Pocket
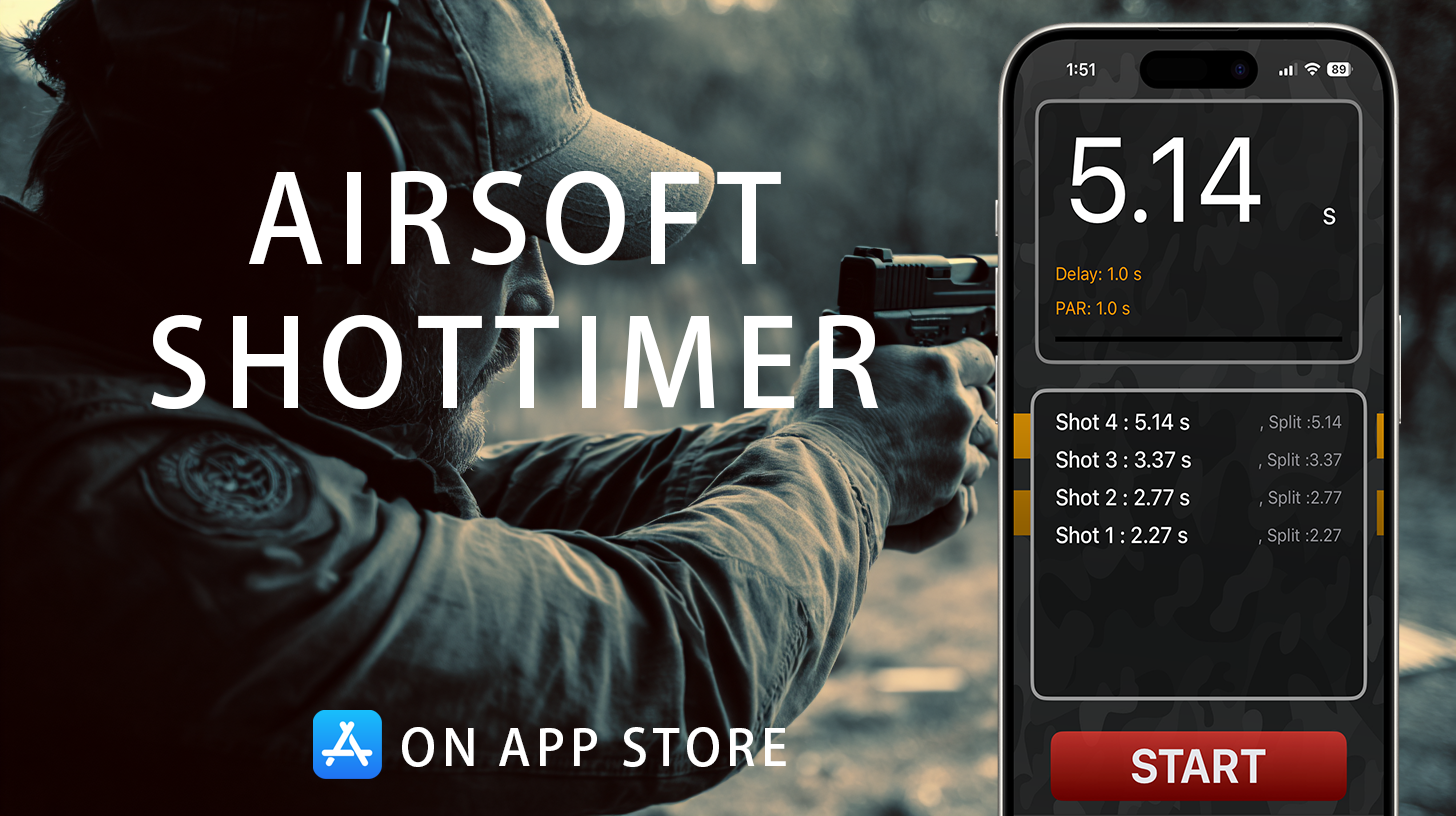
Airsoft Shot Timer is a free shot timer app tuned for airsoft and Action Air — it picks up BB gun shots, tracks your split times, and saves you the cost of a $150+ hardware timer for IPSC/IDPA practice.

- USPSA
- USPSA 2026
- USPSA Beginner
- Uspsa First Match
- Practical Shooting
- Competition Shooting
- Hit Factor
- Power Factor
- Uspsa Scoring
- USPSA Classification
- Uspsa Range Commands
- Uspsa Dq
- IPSC
- Shooting Match
- Shot Timer
- Dry Fire