Average Pistol Draw Time 2026: What's Normal, What's Good, and How to Get Faster
Why Is Draw Technique So Important?
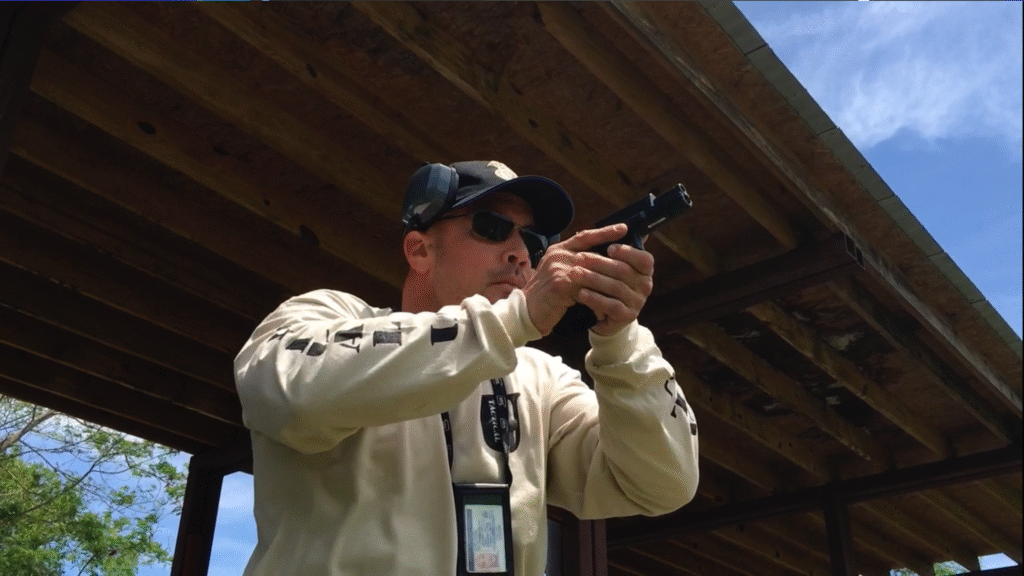
In competitive shooting and defensive situations, the draw stroke is where everything begins. Whether you’re competing for first-shot advantage in IPSC or simulating defensive scenarios in IDPA, a smooth and fast draw is a fundamental skill every shooter must master.
A standard draw takes beginners 2.5-3.0 seconds, while top competitive shooters can complete it and hit the A-zone in under 1.0 second. This seemingly small difference can accumulate into a decisive time gap in matches requiring multiple draws.
More importantly, the grip established during the draw affects all subsequent shooting. As experts say: “If your grip interaction doesn’t feel right during the draw, this is the only real opportunity to correct it—once the pistol leaves the holster, you’re mostly stuck with the grip you have.”
What This Guide Will Teach You
- Complete four-phase draw breakdown
- IPSC vs IDPA draw rule differences
- Progressive training program
- Using Shot Timer to track progress
- Common mistakes and corrections
- Competition holster selection
🎯 Before you start: the draw is the one drill you cannot improve without a timer. “Draw to first shot” is a number, and you can’t shrink a number you never measure. The whole point of this guide is to take you from a vague “I feel faster” to a concrete “I dropped from 1.8 to 1.4 seconds.” You don’t need a $150 dedicated timer to do that — the free Airsoft Shot Timer App turns your phone into a shot timer with a random-delay start beep and PAR-time mode, and it logs every rep so you can watch your progress curve. Install it, set a random delay, and time the very first draw you do after reading this.
What Is the Average Pistol Draw Time?
Short answer: from an open holster on a flat range, most trained shooters land somewhere between 1.2 and 1.8 seconds to a first hit. From concealment, add roughly half a second — 1.8 to 2.5 seconds is where the average trained carrier actually lives.
Most of the “average draw time” numbers floating around online come from forum threads where everyone quietly rounds down. The one measured dataset worth knowing is a VirTra time study of certified peace officers: drawing from a duty holster and firing one round at three yards, the group averaged 1.777 seconds with a standard deviation of ±0.329 seconds. Those are trained, uniformed shooters on an open holster with nothing to sweep out of the way — and half of them were slower than 1.78.
That number is worth sitting with, because it resets expectations in both directions. If you are running 2.5 seconds from concealment with a cover garment, you are not slow — you are normal. And if you had quietly decided a sub-second draw was a reasonable everyday goal, a professional average closer to 1.8 tells you where the real distribution sits.
Average vs Good: Where You Actually Stand
| Who you are | Typical draw to first hit | What it really means |
|---|---|---|
| First time on a timer | 3.0+ sec, concealed | The garment, not the gun, is eating your time |
| Average carrier, occasional range trips | 2.2–3.0 sec, concealed | Completely normal — and the easiest place you will ever find a full second |
| Trained carrier, regular dry fire | 1.6–2.2 sec, concealed | The garment clear has become automatic |
| Certified peace officer (measured) | ~1.78 sec, duty holster at 3 yd | The real-world professional benchmark |
| Club-level USPSA / IDPA shooter | 1.2–1.5 sec, open holster | The draw is no longer your limiting factor |
| A-class and above | 1.0–1.2 sec, open holster | Every tenth now costs weeks of work |
| Grandmaster | Under 1.0 sec, open holster | Sub-second, and repeatable on demand |
Notice that “average” and “good” are two different questions. Average is a description of a population; good is a description of you on a bad day. Two words separate them, and neither of them is fast: consistent and clean. A 1.4-second draw you can repeat nine times out of ten beats a 1.1 you hit once and cannot explain afterwards.
The 0.2-Second Floor Nobody Beats
Part of every timed draw is not draw at all — it is reaction. Human reaction time to a start signal runs roughly 0.20 to 0.25 seconds, and even specialist fast-draw competitors, who train that one reflex and nothing else, bottom out around 0.145 seconds. On a 1.2-second draw that means close to a fifth of your number is spent before your hand has even moved.
This is also the reason a random-delay start beep matters so much. If you can feel the beep coming, you start moving into it and quietly delete your own reaction time — which is a great way to record a number you cannot reproduce when a range officer runs the timer. Set the delay to random, every single time.
The Four Phases of the Draw
Traditionally, the draw is taught as a four-point combat draw, but the goal is for it to become one continuous, smooth, and fast motion. Here’s the detailed breakdown:
Phase One: Establish Grip
This is the most critical phase of the entire draw.
If the draw stroke is the foundation for success, the grip is the cornerstone of that foundation. You cannot adjust your grip on the way out of the holster—you must establish the correct grip the moment you first touch the pistol.
Key Points
-
Strong Hand Movement
- Elbow leads upward, palm moves directly to grip
- Web of hand seats deep in the beavertail
- Three fingers (middle, ring, pinky) wrap firmly around grip
- Index finger extends straight along holster exterior
-
Support Hand Simultaneous Movement
- As strong hand moves to grip, support hand moves to chest centerline
- Preparing to meet strong hand in Phase Three
- Don’t let support hand idle or wander
-
Confirm Proper Grip
- If the web-to-grip contact doesn’t feel right, this is your only chance to correct it
- Feel complete palm-to-grip contact
- Establish the “Master Grip”
Key Point: From first contact with the grip, your strong hand grip should not change until shooting is complete.
Phase Two: Clear
The handgun must be lifted straight up and out of the holster. If you bend the handgun at an angle, it may drag or the sights may snag on the holster.
Key Points
-
Defeat Retention
- If equipped with retention device, disengage properly
- Competition holsters typically use friction or magnetic retention
- Confirm pistol is free
-
Vertical Extraction
- Contract bicep, pull pistol straight up
- Ensure muzzle completely clears holster
- Pistol should rise to chest height
-
Establish Retention Position
- Drive elbow down, muzzle naturally orients toward target
- Pistol slightly canted outward so slide can operate freely
- In emergencies, shots can be made from this position
Phase Three: Meet (Smack)
Support hand joins in this phase, establishing complete two-handed grip.
Key Points
-
Hands Meet
- Support hand moves from chest centerline to meet strong hand
- Support palm presses firmly against grip side, filling gaps
- Thumbs forward position
-
Complete the Grip
- Support thumb rests below safety/slide release
- Four fingers wrap over strong hand fingers
- Establish 360-degree complete grip
-
Maintain Muzzle Safety
- Ensure muzzle always points in safe direction (toward target)
- Finger still outside trigger guard
Phase Four: Presentation (Extension)
Push the pistol toward the target while acquiring sight picture.
Key Points
-
Extend Forward
- Both arms push toward target
- Keep shoulders relaxed, arms slightly bent
- Pistol rises to eye level
-
Acquire Sight Picture
- Eyes track through sights to target
- Begin finding sights during extension
- Don’t wait for full extension to start aiming
-
Prepare to Shoot
- Confirm proper sight picture
- Finger moves inside trigger guard, contacts trigger
- Draw complete, begin trigger control
Draw Time Standards
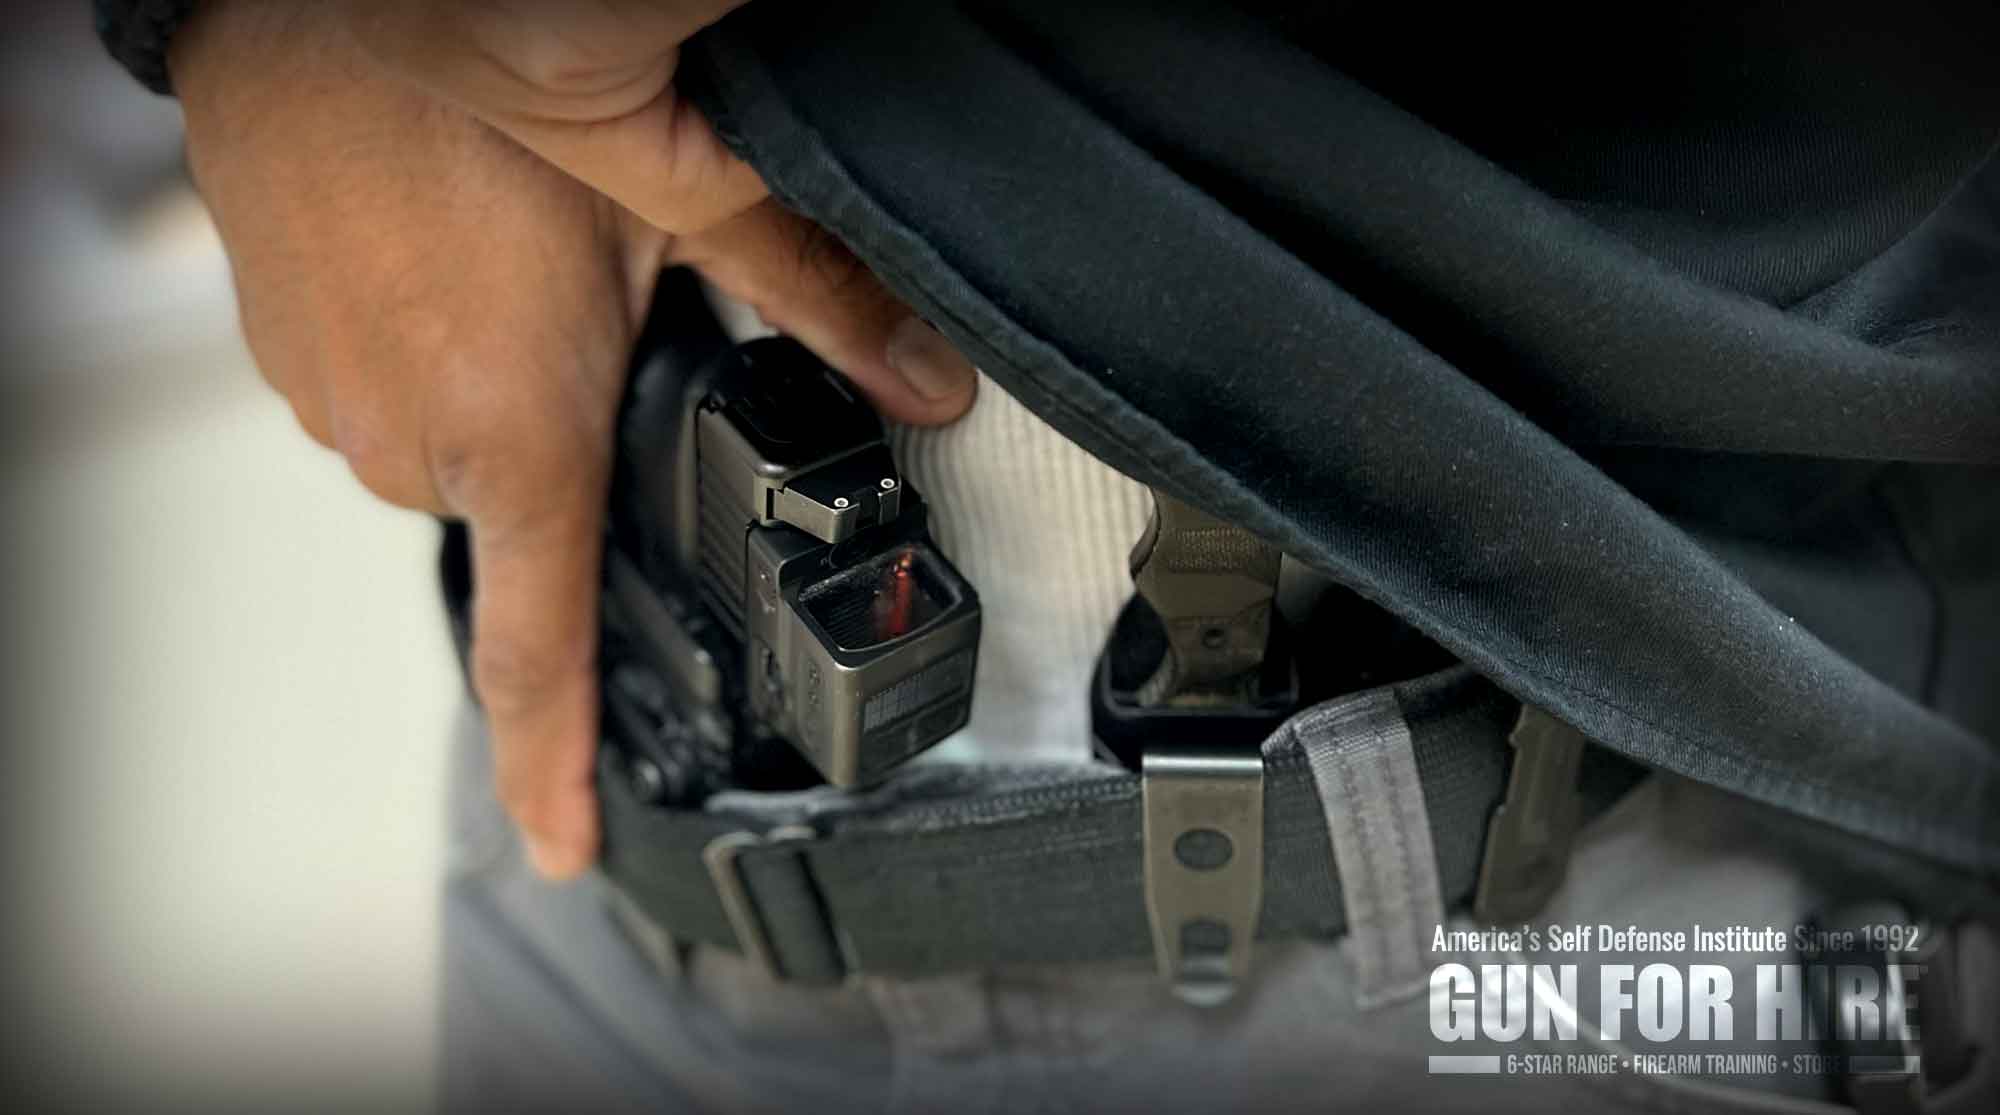
Understanding draw time standards for different skill levels helps set realistic training goals.
Open Holster (Competition)
| Level | Draw to First Shot | Description |
|---|---|---|
| Beginner | 2.5+ seconds | Focus on correct technique |
| Novice | 2.0-2.5 seconds | Basic proficiency |
| Intermediate | 1.5-2.0 seconds | Smooth execution |
| Advanced | 1.2-1.5 seconds | Competition level |
| Expert | 1.0-1.2 seconds | Regional/National level |
| Elite | Under 1.0 second | World-class |
Concealed Carry (With Garment Clear)
| Level | Draw to First Shot | Description |
|---|---|---|
| Beginner | 3.0+ seconds | Learning garment clear |
| Intermediate | 2.0-2.5 seconds | Coordinated movement |
| Advanced | 1.5-2.0 seconds | Defensive-ready |
| Expert | 1.0-1.5 seconds | Achieved by very few |
Defining the “Sub-Second Draw”
A true sub-second draw means drawing from concealment and delivering an A-zone/Down Zero hit on a USPSA or IDPA target at seven yards in under one second. Very few people can legitimately accomplish this.
Research shows different draw speeds require different levels of attacker distraction:
- 2.0 second draw: Attacker must show you back of head and one shoulder
- 1.5 second draw: Attacker must be completely side-on
- 1.0 second draw: Attacker must take eyes off you
How Much Time Your Carry Position Costs You
Two shooters with identical technique can be half a second apart purely because of where the gun rides and what is covering it. When you compare your number against anyone else’s, this is the variable that usually explains the gap.
Open competition holster on a belt. No garment step at all, and the gun sits away from the body with a clean, unobstructed path to the grip. This is the fastest configuration there is, and it is also why competition times and concealment times are not comparable numbers — a 1.1 from a race rig and a 1.1 from a zipped jacket are not the same achievement.
Appendix (AIWB). Usually the quickest concealed option, because the gun sits directly in the path your hands already travel and both hands can rip the hem straight up together. The catch is that the two-handed clear disappears the moment your support hand is doing something else — fending someone off, controlling a door, holding a child. Train a one-handed hem clear as well, or your fastest draw only exists in ideal conditions.
Strong-side hip, roughly 3 o’clock. With an open-front shirt or jacket, the classic fix is the cross-body sweep: the support hand crosses over, catches the garment behind the gun, and pulls it clear while the strong hand drops onto the grip. It works cleanly at 3 o’clock and is worth drilling until it is one motion rather than two. A neat trick from instructors who live in open-front flannels: sew a small weight — fishing weights work — into the garment hem so it actually flings clear instead of draping back over the gun.
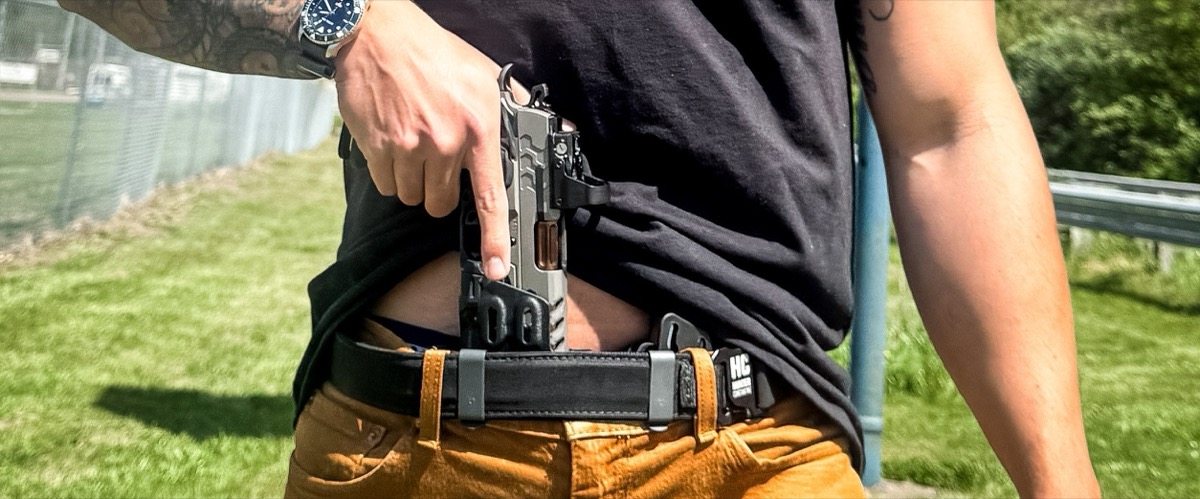
Behind the hip, 4 to 5 o’clock. This position prints far less, which is exactly why people choose it, and it costs roughly half a second on the draw compared to 3 o’clock. There is a second, less obvious penalty: at that angle the cross-body sweep often fails to fully clear the pistol, so you end up sweeping the garment from the top with the strong hand, carrying it all the way behind your back, and only then dropping onto the grip. More motion, more to go wrong under a timer.
Closed, zipped, or tucked garments. The slowest of the lot. A zipped fleece or a tucked shirt forces an exaggerated hem lift before anything else can happen, and the extra time is not technique — it is clothing.
One detail applies to every concealed position: lead with the thumb. A concealed gun rides much closer to your body than one on a duty or battle belt, so a flat-hand grab tends to arrive low on the grip. Driving the thumb down first puts the web of your hand high on the tang every time, and a high grip on the first attempt is worth more than any speed you could gain by rushing it.
The practical takeaway is not to switch carry positions chasing a tenth. It is to time each outfit you actually wear. Run five draws in the flannel, five in the zipped jacket, five in the summer t-shirt, and write the three numbers down. Most people discover one specific garment is costing them three quarters of a second, and that is a wardrobe problem with a training solution.
IPSC vs IDPA Draw Rules
IPSC (USPSA) Rules
IPSC pursues pure speed with relatively relaxed holster rules:
- Holster Position Flexibility: Open division allows placement anywhere on belt
- Speed Holsters: Fully open holsters permitted
- Drop and Offset: DOH holsters are legal
- Standard/Production Divisions: Holster must be behind hip bone
- No Drawing While Facing Uprange: Results in DQ
Strategy: Use the fastest legal holster setup to minimize draw time.
IDPA Rules
IDPA emphasizes “combat simulation” with stricter rules:
- No Drop and Offset: DOH holsters not permitted
- High and Tight Required: Grip top must be above belt
- Trigger Guard Behind Centerline: Holster position restricted
- Concealment Requirements: Some divisions start from concealment
- Variable Start Positions: May require starting with gun on table, in box, etc.
Strategy: Master garment clearing and various starting position draws.
Draw Technique Breakdown
Drawing from Competition Holster
Let’s break down the competition draw into practicable individual phases:
Ready Position
-
Hand Position
- Per match rules: hands relaxed at sides
- Or hands raised to chest (surrender position)
- Or hands on markers
-
Body Position
- Facing target
- Knees slightly bent, weight forward
- Eyes focused on target or area
-
Mental Preparation
- Focus on start signal
- Visualize draw path
- Prepare to explode
Phase 1-4 Practice
Practice each phase individually:
- Grip establishment only (100 reps)
- Extraction to chest only (100 reps)
- Meet movement only (100 reps)
- Extension and aim only (100 reps)
Connected practice:
- Link all four phases into one motion
- Prioritize correctness before speed
- Use mirror to check form
Drawing from Concealment
Concealed carry adds a “garment clear” step, increasing complexity.
Garment Clear Techniques
-
Strong Hand Clear
- Strong hand grabs shirt hem first
- Pull up to chest height
- Quickly transition to grip
-
Support Hand Clear (Recommended)
- Support hand grabs shirt hem
- Pull up and outward
- Strong hand simultaneously moves to grip
-
Two-Hand Clear
- Both hands grab shirt hem
- Spread outward (for tighter clothing)
- Strong hand quickly transitions to grip
Common Garment Clear Mistakes
- Not clearing high enough, garment falls back over grip
- Clearing garment before moving strong hand, wasting time
- Excessive clearing motion, consuming too much time
- Not confirming garment is secured
Draw Training Program
Systematic training is key to progress. Here’s a three-phase training program.
Phase One: Foundation Building (Weeks 1-4)
Goal: Establish correct movement patterns, develop muscle memory
Daily Training Content (20 minutes)
| Item | Reps | Focus |
|---|---|---|
| Grip Establishment | 30 | Deep web, complete grip |
| Extraction Practice | 30 | Vertical pull, no snagging |
| Meet Practice | 30 | Synchronized hands, fill gaps |
| Complete Draw | 30 | Smooth movement, no timer |
Key Points
- Slow Motion Practice: Prioritize correctness before speed
- Isolated Practice: Practice each phase until proficient
- Use Mirror: Check if movements are correct
- No Timer: Focus on movement quality
Weekly Goals
- Week 1: Familiarize with four phases
- Week 2: Complete without looking down
- Week 3: Smooth flow without pauses
- Week 4: Begin using Shot Timer for baseline
Phase Two: Speed Development (Weeks 5-12)
Goal: Increase speed while maintaining correct technique
Daily Training Content (30 minutes)
| Item | Reps | Focus |
|---|---|---|
| Warm-up Draws | 10 | Activate muscle memory |
| Timed Draws | 30 | Track time progress |
| PAR Time Challenge | 20 | Challenge target times |
| Draw + Shot Combinations | 20 | Integrate full sequence |
Using the Airsoft Shot Timer App
Run this whole block on the free Airsoft Shot Timer App — it does each of these without any extra hardware:
- Set random delay (1-4 seconds)
- Record each draw time
- Calculate weekly averages
- Track progress curve
PAR Time Training Method
PAR time training effectively develops speed:
- Set initial PAR time: 0.2 seconds faster than current average
- 10 reps per set:
- 10/10 success → reduce by 0.1 second
- 8-9/10 success → maintain practice
- <8/10 success → increase by 0.1 second
- Progressively shorten: Until target time reached
Phase Three: Competition Refinement (Week 13+)
Goal: Achieve competition level, adapt to pressure situations
Advanced Training Items
-
Multi-Target Draw
- Draw then transition to different targets
- Practice acquiring sight picture at different distances
- Combine with movement
-
Stress Draw Training
- Do 10 burpees or jumping jacks first
- Immediately perform draw practice
- Record performance under fatigue
-
El Presidente Drill
- Back to three targets
- Turn and draw, shoot 2 per target
- Reload
- Shoot 2 per target again
- Target time: 10 seconds (advanced: 5 seconds)
-
Bill Drill
- Draw and shoot 6 rounds (same target)
- Tests draw to rapid fire capability
- Target time: 2.5 seconds (advanced: 2.0 seconds)
Holster Selection and Setup
Proper holster setup significantly improves draw efficiency.
Competition Holster Types
| Type | Pros | Cons | Recommended Brands |
|---|---|---|---|
| Friction Kydex | Stable, low friction | Medium speed | Comp-Tac, Blade-Tech |
| Magnetic | Extremely fast extraction | Less secure | DAA, BOSS |
| Open Quick-Release | Ultra-fast, pro-level | Requires adjustment | GHOST, CR Speed |
| Drop and Offset | Optimal draw angle | IDPA non-compliant | CR Speed, DAA |
Holster Position Setup
-
Height
- Grip top about 2-3cm above belt
- Too low increases draw distance
- Too high affects grip establishment
-
Angle
- Slight forward cant (10-15 degrees) aids grip
- Straight setup is safer and faster
- Avoid excessive cant
-
Horizontal Position
- Direct side (3 o’clock) most common
- Slightly forward shortens draw path
- IDPA requires trigger guard behind body centerline
Belt Selection
Competition shooting requires stable belt support:
- Two-layer design: Inner belt + outer belt for easy on/off
- Width: 1.5-2 inches provides adequate support
- Material: Rigid nylon or Kydex-lined
- Recommended brands: GHOST, DAA, CR Speed, Safariland
Common Mistakes and Corrections
Mistake 1: Incomplete Grip Establishment
Problem: Web not seated deep in beavertail, grip too high or low
Cause: Rushing to draw, not taking time for proper grip
Correction:
- Practice grip establishment alone 100 times
- Feel web-to-beavertail contact
- Confirm three fingers completely wrap grip
- Slow motion practice until correct
Mistake 2: Finger Entering Trigger Guard Too Early
Problem: Finger enters trigger guard and touches trigger during draw
Cause: Lack of trigger discipline or incorrect habit
Correction:
- Force index finger straight along holster/frame side
- Only allow finger inside guard after sight picture established
- Follow this rule even with training guns
- Have others observe and correct
Mistake 3: Muzzle Sweeping Self
Problem: Muzzle points at leg or body during draw
Cause: Incorrect extraction angle or meeting position too low
Correction:
- Ensure vertical upward extraction
- Meet position at chest, not abdomen
- Check holster angle setup
- Use training gun to confirm safety during practice
Mistake 4: Support Hand Joining Too Late
Problem: Strong hand already extended before support hand joins
Cause: Hands not synchronized, support hand starts too late
Correction:
- Both hands start moving simultaneously at signal
- Support hand pre-positions at chest to wait
- Complete meet at chest, then extend together
- Practice “clap” rhythm feel
Mistake 5: Over-Pursuing Speed
Problem: Form breaks down, grip unstable, poor sight picture
Cause: Pursuing speed before establishing correct technique
Correction:
- Return to slow motion practice
- Only correct movements can be “sped up”
- Speed results from repeated correct movements
- Use “10-rep rule”: 10 correct reps before increasing speed
What a Grandmaster Actually Measures (and Where Your Time Really Goes)
Here is the part nobody tells beginners: a fast draw does not come from trying hard. USPSA Grandmaster Mark Smith of JBS Training Group puts it bluntly — when people try to be fast, “their whole body gets involved, they get all locked up and tense, and there are a lot of snappy motions. Those are always going to be slower than just presenting the gun as efficiently as possible.” Tension is the enemy of efficiency, and efficiency is what speed is made of. The fastest way to fire a muscle is from total relaxation, so the first thing to fix is the urge to muscle the gun out.
The second hidden time-sink is in your head. Most shooters treat the beep like a decision — they hear it, and somewhere in their brain a voice says “okay, we can go now,” and then they start moving. A grandmaster has already made the decision to draw before the beep; the beep is just permission. Your draw should be a reaction, not a deliberation. If you find yourself “waking up” to the start signal, that lag alone can be two or three tenths of a second you will never get back no matter how good your hands are.
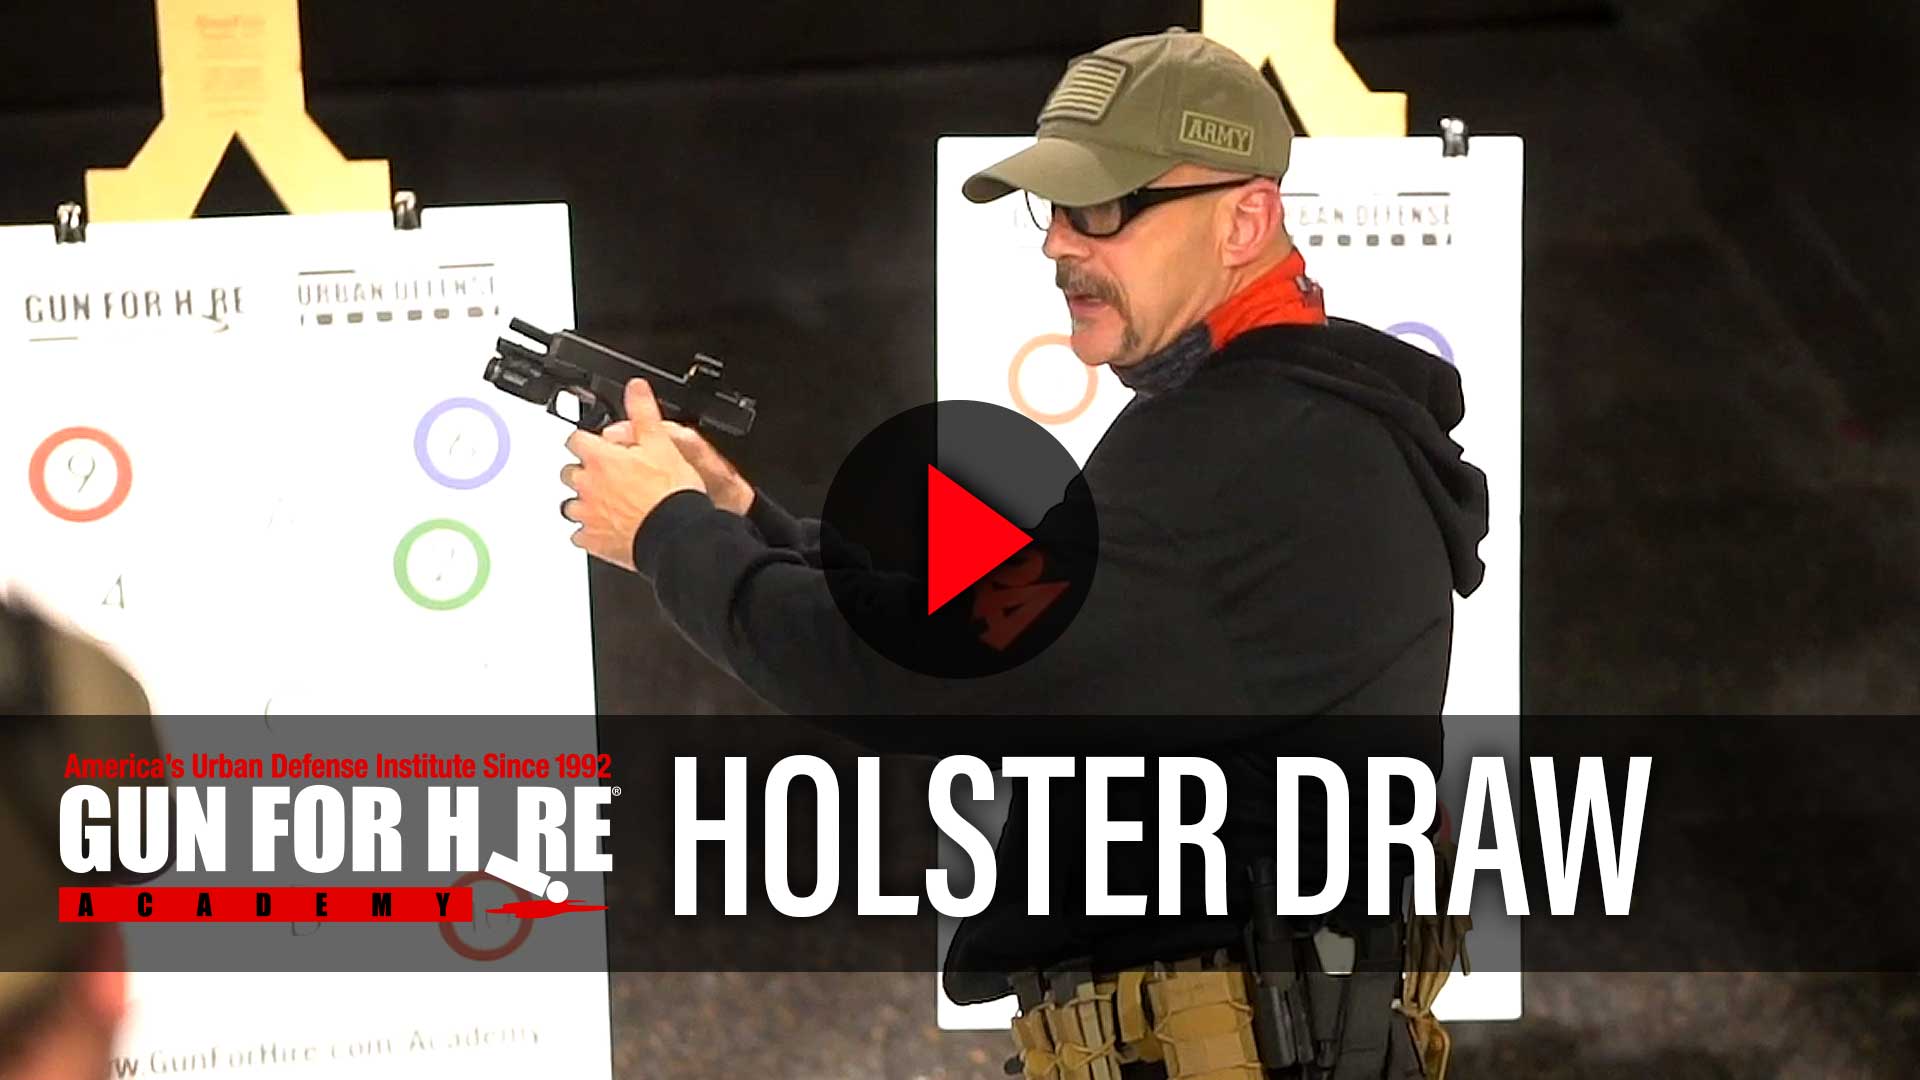
When the hands do move, two mechanical details separate fast shooters from average ones. First, don’t reach for the grip — reach for the funnel, the little hollow where the front strap and trigger guard meet the holster. Aiming your hand at that pocket forces the high, tight master grip you actually want, instead of the low grip people fall into when they grab in a hurry. Second, your support hand is almost always “late to the party.” Instead of parking it on your chest centerline (which sends the gun to the middle and then out, creating a wasteful dog-leg), bring it across to meet the gun as it lifts, and drive the muzzle on a straight 45-degree line from holster to eye line. Smith calls this “somewhere you can save a tenth, sometimes two tenths of a second, just by eliminating the angles in the draw.”
The biggest mindset shift is what you do at the end. Speed comes from the holster to your face — not from yanking the trigger. Shooters who rush the trigger on the draw start unconsciously timing how fast they can slap a trigger, not how fast they can deliver an aimed hit. In dry fire, define success as “dot is on the target and finger is on the trigger, ready to shoot” — and then stop, without pressing. The mantra is simple: see the sight, is it good, send it. Train that way and the same draw speed shows up at 25 yards as it does at 5 — only the trigger timing changes.
The Two Drills a GM Uses to Get Faster
You only need two ideas to put all of this into practice, and both run on a shot timer:
- The descending PAR drill. Set a generous PAR time — start at a full five seconds — and use all of it. Don’t try to beat the buzzer; try to be with it, feeling for any frenetic motion that isn’t part of the draw. Then shorten the PAR a tenth at a time and keep going until “the wheels fall off.” Fix every mistake before you re-holster.
- The cue ladder. Pick exactly one thing to do sooner each rep — react to the beep sooner, hand to the gun sooner, gun out of the holster sooner, master grip sooner, touch the trigger sooner, or see the sight sooner. Work one cue until something clicks, then move to the next.
There is one sneaky trick that ties them together: hide the time from yourself. Your brain carries a self-image of “how fast I can go,” and it quietly stops improving once it hits that number. When a coach hides the timer and just keeps telling a shooter to react sooner, the shooter routinely does things they “couldn’t” do — Smith took a student from a comfortable 1.0–1.15 seconds down to a repeatable 0.89 in about ten minutes of dry fire, simply by removing the self-imposed ceiling. The Airsoft Shot Timer App makes both drills easy: random-delay start so you can’t anticipate the beep, adjustable PAR for the descending ladder, and an automatic log so you can check your real numbers after the session instead of chasing them during it. And one rule from the GM that will save your scores: never reward yourself for a miss. If you didn’t make the hit, you don’t get to keep the time.
Dry Fire Training: Draw Focus
Drawing is one of the skills most suitable for home dry fire training.
Safety Precautions
- Confirm gun is completely empty
- Remove all live ammunition to another room
- Use training-specific gun or empty gun
- Point in safe direction (no people or pets)
Recommended Training Drills
Drill One: Pure Draw Timing
- Hands in designated position
- Draw on Shot Timer signal
- Establish sight picture and dry fire one shot
- Record completion time
Initial goal: 2.5 seconds → progressively shorten
Drill Two: Segmented Practice
Split draw into two halves, set PAR time for each:
First half (Grip + Clear):
- After signal, establish grip and extract to chest
- Target: 0.75 seconds
Second half (Meet + Extend):
- Start from chest position, meet and extend to aim
- Target: 0.75 seconds
Drill Three: 10-Rep Challenge
- Set current PAR time
- Draw 10 consecutive times
- Record success count
- Adjust PAR time based on results
Drill Four: Draw + Multiple Shots
- Dry fire 2-3 shots after draw
- Practice rapid shooting after draw
- Ensure grip remains stable
Advantages of Using the Airsoft Shot Timer App
The free Airsoft Shot Timer App is purpose-built for exactly this kind of drawing practice — turn your phone into a shot timer and you get:
- Random delay simulates real reaction
- Automatically records segment times
- Tracks long-term progress trends
- Set PAR time challenges
Further reading: Complete Dry Fire Training Guide - More home training techniques
Live Fire Training Suggestions
Dry fire builds muscle memory; live fire validates and strengthens skills.
Recommended Live Fire Draw Drills
Basic Draw Drill (7 yards)
- Draw and fire 1 shot
- Holster
- Repeat 10 times
- Record each time and hit location
Goal: Average 2.0 seconds, all hits in A-zone
Bill Drill (7 yards)
- Draw and fire 6 shots (same target)
- Balance speed and accuracy
- Record total time
Target times:
- Beginner: 4.0 seconds
- Intermediate: 3.0 seconds
- Advanced: 2.5 seconds
- Expert: 2.0 seconds
Draw + Turn (7 yards)
- Back to target
- Turn, draw, and fire 2 shots on signal
- Practice coordination of turn and draw
Target time: 2.5 seconds
Training Frequency Recommendations
- Dry fire training: 15-20 minutes daily
- Live fire training: 1-2 times weekly, 50-100 rounds focused on draw
Conclusion
The draw is the starting point of shooting technique and a key factor in competitive performance.
Through systematic training, you can reduce your draw time from 2.5 seconds to 1.5 seconds or faster. This requires not only correct technique but also extensive repetition to build muscle memory.
Remember These Core Principles
- Grip Determines Everything: Establish correct grip immediately; no adjustment later
- Safety Always First: Finger off trigger until sight picture complete
- Correctness Before Speed: Practicing incorrect movements only reinforces errors
- Use a Timer: Quantify progress, set clear goals
- Practice Daily: Muscle memory requires constant maintenance
Start Your Draw Training
- Assess your current draw time (using Shot Timer)
- Identify which phase needs most improvement
- Create a training plan
- Practice consistently every day
- Regularly assess progress
Smooth draw = Faster first shot = Better performance
Good luck with training and winning matches!
Frequently Asked Questions
What is a good draw-to-first-shot time?
It depends on the target, the distance, and whether you’re shooting from concealment — there is no single magic number. A useful benchmark comes from USPSA Grandmaster Mark Smith, whose personal standard is to never be slower than 1.75 seconds on an A-zone hit from concealment, even in bad conditions. For most recreational shooters, being able to draw and hit a 10-yard A-zone with 80–90% consistency in about 1.25 seconds (from an open holster on a flat range) is already strong — past that point your time is better spent on marksmanship than on shaving hundredths off the draw. The key word is consistency: a “good” time is one you can repeat 10 out of 10, not one you hit once and brag about.
What is the average draw time, and how fast is a “sub-second” draw?
Beginners typically run 2.5–3.0 seconds to a first shot, and most experienced competitors land somewhere between roughly 0.8 and 1.5 seconds from an open holster. A true sub-second draw — drawing from concealment and putting an A-zone/Down-Zero hit on a USPSA or IDPA target at seven yards in under one second — is genuinely rare and achieved by very few people. Don’t chase a sub-second number you saw on Instagram; those clips are usually from an open race holster at close range, not concealment.
What is the average draw time from concealment?
For someone who trains the draw regularly, 1.8 to 2.5 seconds to a first hit from concealment is the realistic band, and casual carriers who have never run a timer are usually somewhere between 2.5 and 3.5 seconds. The best measured reference point available is a VirTra study of certified peace officers, who averaged 1.777 seconds (±0.329) drawing from an open duty holster at three yards — no cover garment involved. Add a garment and most people give back roughly half a second. If your number sounds slow next to a video clip you saw, check what the shooter in that clip was wearing and what holster they were using before you feel bad about it.
Is a 2-second draw from concealment good?
It is a genuinely respectable working standard, and it is the number most defensive instructors put in front of private citizens. From there, 1.5 seconds is broadly treated as the professional benchmark, and anything under about 1.3 from true concealment puts you in a small group. But the qualifier matters more than the number: 2.0 seconds with an A-zone hit, repeated ten times out of ten, in the clothes you are actually wearing today, is worth more than a 1.6 you produced once in a t-shirt on a warm day.
Does appendix carry really draw faster than hip carry?
Usually yes, by a small margin, for two reasons: the gun sits in the path your hands already travel, and both hands can clear the garment together. Moving the gun behind your hip to 4 or 5 o’clock hides it far better but tends to cost about half a second, partly because the cross-body garment sweep stops working cleanly at that angle. That trade is a personal decision about concealment, comfort, and body shape — not a leaderboard. Whichever you pick, time it in your real clothes rather than assuming the position alone will give you the tenths back.
Who has the fastest pistol draw?
It depends which sport you mean, and the comparison is usually unfair. Competitive fast draw — single-action revolvers, purpose-built rigs, wax loads, targets a few feet away — is its own discipline where elite competitors react to the light in about 0.145 seconds, faster than an ordinary person’s 0.20–0.25 second reaction time. That is not the same event as a practical-shooting draw to an A-zone hit at seven yards, and it is definitely not the same as drawing from under a jacket. Use the standards for your own discipline as your yardstick; the record clips are entertainment.
How do I practice my draw safely at home?
Dry fire is the answer, and it’s where almost all draw improvement actually happens. Triple-check the gun is empty, move every round of live ammunition to another room, point in a genuinely safe direction, and use a designated dry-fire or training gun if you have one. Then run timed reps with a random-delay start so you can’t anticipate the beep. Smith’s descending-PAR method works beautifully at home: start with a five-second PAR, smooth out the motion, then shorten the PAR a tenth at a time. Always fix a botched rep before you re-holster.
Can I train my draw with an airsoft pistol?
Yes — and it’s one of the most underrated draw tools out there. A gas blowback (GBB) airsoft pistol that fits your real holster lets you train the full draw stroke with recoil and an actual point of impact, in your garage or backyard, for pennies a rep. You get the recoil management and sight-tracking feedback that pure dry fire can’t give you, without burning live ammo or a range trip. Time those airsoft draws exactly the way you would live fire, and the muscle memory carries straight over.
Do I need an expensive shot timer to practice the draw?
No. A dedicated competition timer is nice, but it’s an upgrade, not a requirement. The free Airsoft Shot Timer App gives you the two features that matter most for draw training — a random-delay start beep and an adjustable PAR time — and it logs your runs so you can review your real progress curve afterward. Start with your phone; buy hardware later only if you ever feel limited.
Related Articles
Fundamental Shooting Training
- How to Grip a Pistol: pressure numbers and thumbs forward - High grip and two-handed techniques
- Complete Shooting Stance Guide - Isosceles and Weaver explained
- how to aim a pistol — sight alignment vs sight picture - Sight alignment and visual focus
- Complete Trigger Control Guide - Pre-travel and break techniques
Advanced Skill Training
- Complete Magazine Reload Guide - Speed and tactical reloads
- Complete Shooting on the Move Guide - Shooting while moving
- Complete Dry Fire Training Guide - Home training techniques
Competition Shooting Training
- Complete IPSC Training Guide - Competition shooting core techniques
- Complete IDPA Training Guide - Tactical-oriented training
- how to use a shot timer - Using data to improve technique
Put a Shot Timer in Your Pocket
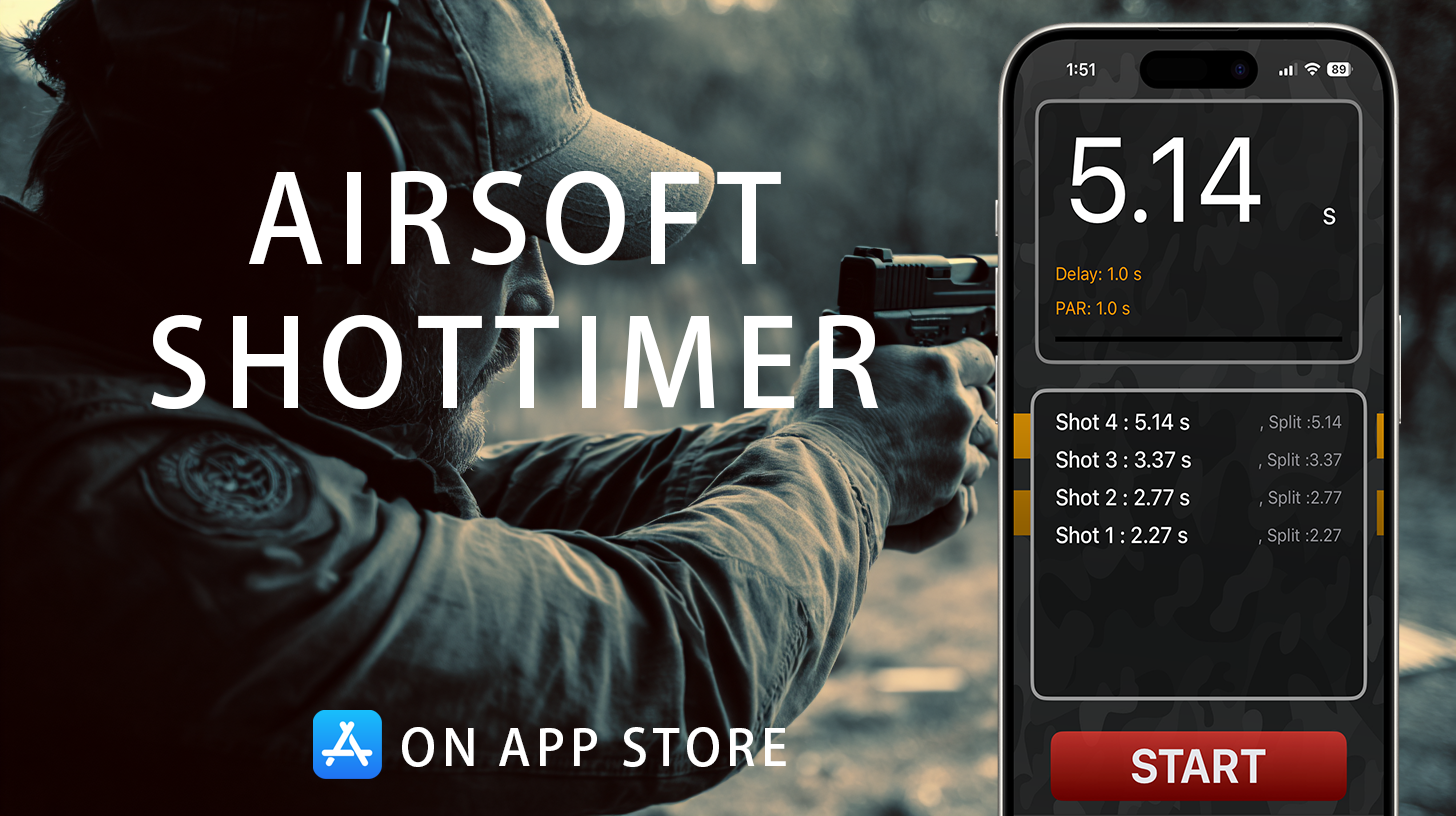
Airsoft Shot Timer is a free shot timer app tuned for airsoft and Action Air — it picks up BB gun shots, tracks your split times, and saves you the cost of a $150+ hardware timer for IPSC/IDPA practice.

- Draw Technique
- Draw Stroke
- Fast Draw
- Average Pistol Draw Time
- Average Draw Time
- Average Draw Time From Holster
- Good Draw Time
- Draw Time From Holster
- Draw to First Shot
- Holster Draw
- Sub-Second Draw
- Appendix Carry Draw Time
- Carry Position
- Concealed Carry Draw
- IPSC
- IDPA
- Shooting Training
- Competition Shooting
- Dry Fire Practice
- Shot Timer
- Free Shot Timer App
- Par Time