Shooting Training Plan 2026: 5 Steps to Build One (+ Free Dry Fire Schedule You Can Copy Tonight)
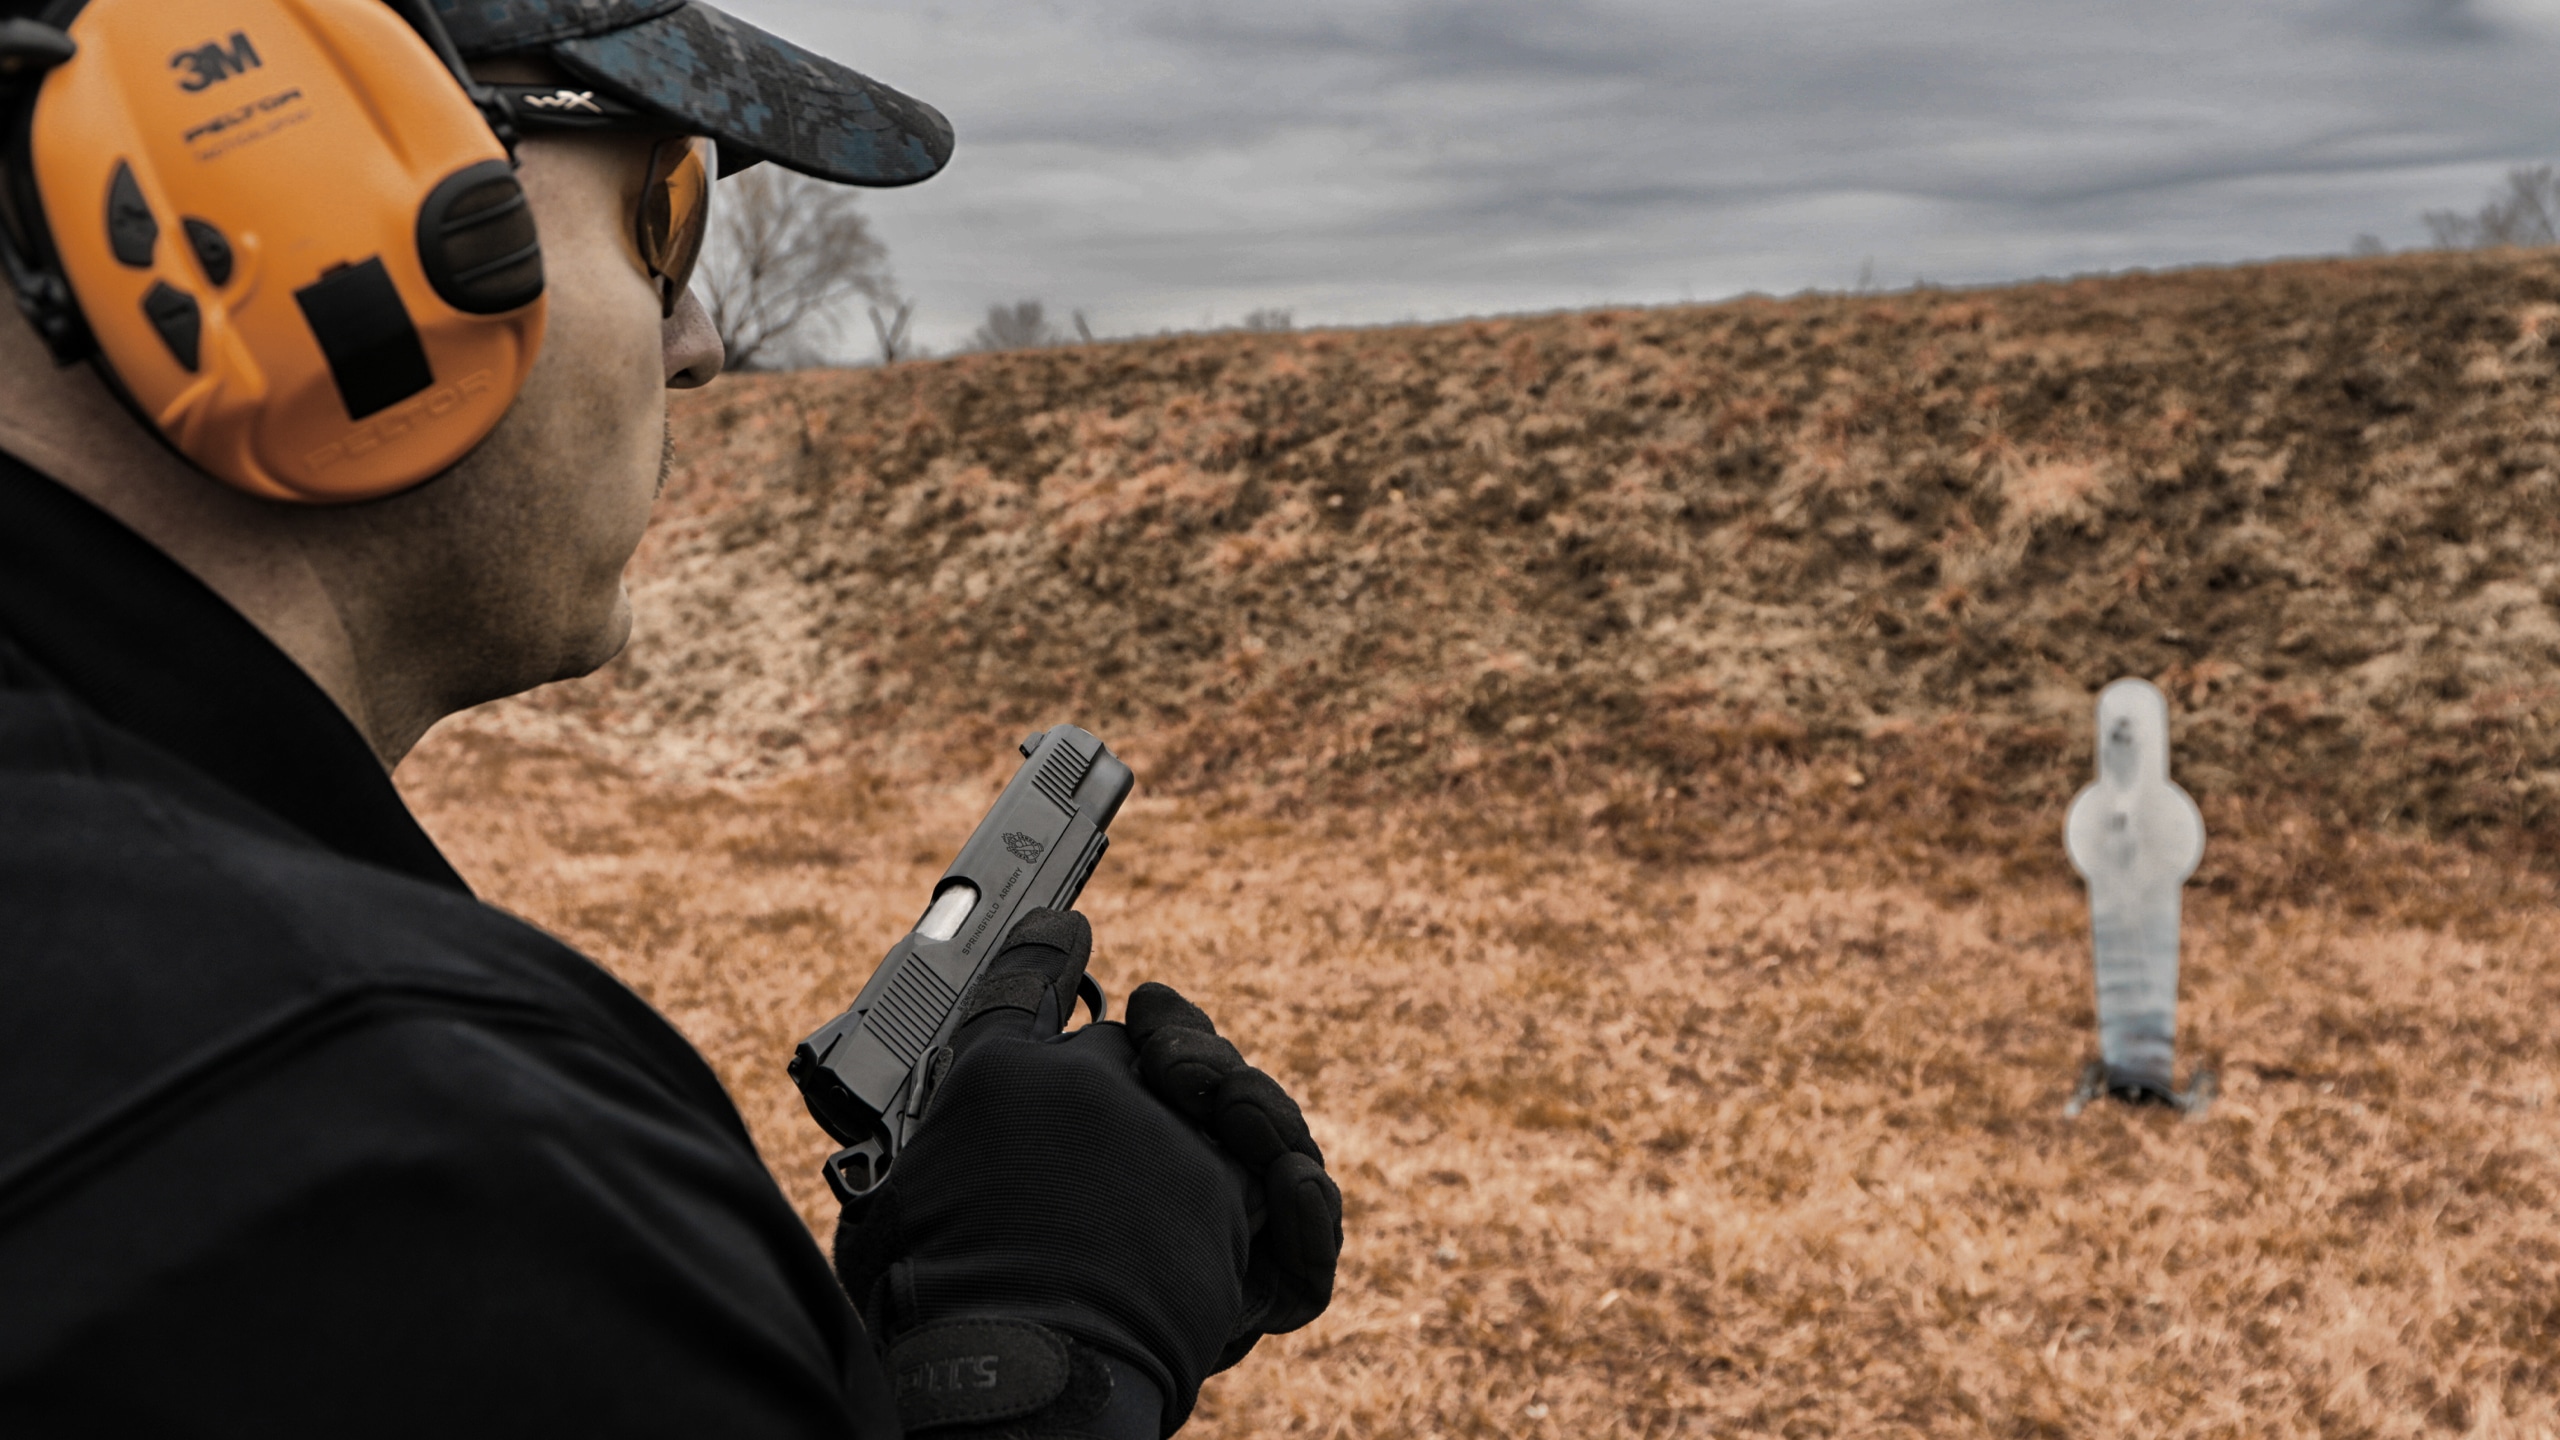
Why Do You Need a Training Plan?
“I go to the range every week, but I don’t seem to be improving.” — This is a common frustration among shooters. The problem often isn’t about not practicing enough, but rather the lack of a systematic training plan.
Imagine this: You arrive at the range, fire a few rounds randomly, practice your draw, run through a few drills, then go home. Next time, you repeat the same process. This “casual practice” approach is like driving without a map — you might be going in circles while thinking you’re making progress.
The difference between planned training and unplanned practice:
| Unplanned Practice | Planned Training |
|---|---|
| Practice different things each time | Systematically build specific skills |
| Don’t know your progress | Quantifiable progress tracking |
| Hit plateaus easily | Periodically break through plateaus |
| Practice becomes ammo consumption | Every round has a purpose |
| Long-term stagnation | Consistent steady improvement |
This guide will take you from zero to creating an effective shooting training plan. Whether you’re a beginner just starting out or an intermediate shooter looking to break through plateaus, you’ll find methods that work for you. Further down you’ll also find a copy-this-tonight dry fire schedule so you don’t leave with theory and nothing to actually do.
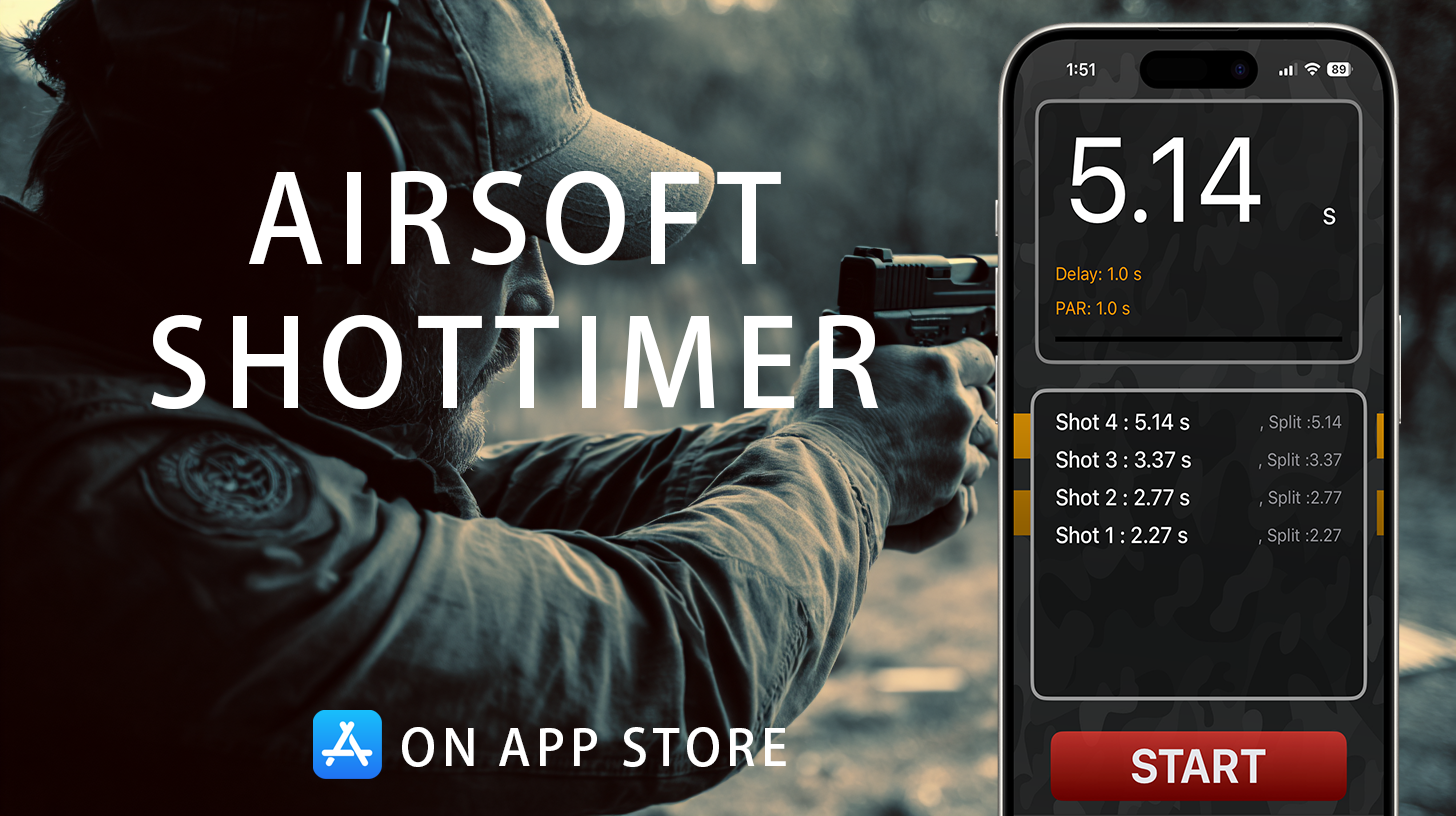
🎯 The one tool a plan can’t work without: A training plan is just a wish until you can measure it — and the instrument that measures shooting is a shot timer. Here’s the good news: you don’t need a $150 hardware timer to start. The free Airsoft Shot Timer App turns the phone in your pocket into a PAR-time beeper and an automatic history log, so every draw, reload, and Bill Drill in this plan gets recorded and tracked over weeks. It works for live fire, dry fire, and airsoft alike — which is exactly why it sits at the center of the routine below.
💡 Further Reading: Before creating your plan, it’s helpful to understand basic training drills. Check out pistol drills by skill and par time to learn about various standard training drills.
Step One: Assess Your Current Level
The first step in creating a plan is understanding where you currently stand. You need to establish a baseline to know where to start and where to go.
Self-Assessment Questionnaire
Before starting, honestly answer these questions:
Experience & Background
- How long have you been shooting?
- How often do you practice per week/month?
- How long is each practice session?
- What firearms do you use (live fire, airsoft, specific models)?
Current Abilities
- What’s your Bill Drill (7 yards, 6 shots) time?
- How long does it take from draw to first shot?
- How long does your reload take?
- Can you consistently pass Dot Torture (3 yards)?
Resources & Constraints
- How much time per week can you dedicate to training?
- What’s your budget for ammunition and range fees?
- Do you have space for dry fire training?
- Do you have a Shot Timer?
Establishing Baseline Tests
Choose 3-5 standard drills from below and record your scores as a baseline:
| Drill | Setup | Record |
|---|---|---|
| Bill Drill | 7 yards, 6 shots, IPSC target | Time + A-zone hits |
| Draw to First Shot | 7 yards, 1 shot | Draw to shot time |
| 2-Reload-2 | 7 yards, 4 shots (with reload) | Total time |
| Dot Torture | 3 yards, 50 shots | Hits (out of 50) |
| El Presidente | 10 yards, 12 shots | Time + total score |
💡 Tip: Use the Airsoft Shot Timer App to record this data. The app’s history feature helps you track long-term progress — and because it captures the actual time, your “before” numbers become a baseline you can prove you’ve beaten three months from now.
Identify Your Level
Based on baseline test results, you can roughly categorize yourself into one of these levels:
Beginner
- Bill Drill: 4.0 seconds or more
- Draw to first shot: 2.5 seconds or more
- Main needs: Establish fundamental movements, develop correct habits
Intermediate
- Bill Drill: 2.5-4.0 seconds
- Draw to first shot: 1.5-2.5 seconds
- Main needs: Increase speed, improve consistency
Advanced
- Bill Drill: Under 2.5 seconds
- Draw to first shot: Under 1.5 seconds
- Main needs: Detail optimization, maintain performance under pressure
Step Two: Set Training Goals
With your baseline established, the next step is setting clear goals. Vague goals (like “I want to get better”) can’t guide your training direction — you need SMART goals.
SMART Goal Framework
SMART is a widely-used goal-setting framework, with each letter representing an element:
| Element | Description | Shooting Example |
|---|---|---|
| Specific | Clearly define what to achieve | “Improve Bill Drill time” |
| Measurable | Numbers to track | “From 3.5 seconds to 2.8 seconds” |
| Achievable | Realistic with current resources | Consider weekly training time |
| Relevant | Aligns with long-term goals | Related to competition needs |
| Time-bound | Set a deadline | “Within 3 months” |
Goal Examples
Beginner Goal Examples
- “In 8 weeks, improve Bill Drill from 5.0 seconds to 4.0 seconds”
- “In 6 weeks, consistently pass Dot Torture at 3 yards”
- “In 4 weeks, reduce draw to first shot from 3.0 seconds to 2.5 seconds”
Intermediate Shooter Goal Examples
- “In 12 weeks, improve Bill Drill from 3.2 seconds to 2.6 seconds”
- “In 8 weeks, improve El Presidente from 9 seconds to 7 seconds”
- “By end of season, achieve B-class or higher in regional matches”
Advanced Shooter Goal Examples
- “Before competition season, consistently hit Cold Start Bill Drill under 2.2 seconds”
- “Achieve USPSA A-class by year end”
- “Place in top 20% at national match”
Goal Layering
It’s recommended to set three levels of goals simultaneously:
- Short-term goals (4-8 weeks): Specific, quickly verifiable technical improvements
- Medium-term goals (3-6 months): Overall skill improvement, match performance
- Long-term goals (1+ year): Classification achievements, major competition goals
This layering lets you feel progress in the short term while maintaining pursuit of long-term vision.
Reality Check: Why Most Training Plans Get Abandoned (and How Champions Avoid It)
Here’s the uncomfortable truth that most “training plan” articles skip: the plan you write down isn’t the one that fails you — the plan you quit is. Talk to anyone who has actually climbed the classifications and they’ll tell you the limiting factor was rarely talent or ammo budget. It was showing up consistently. So before we get into periodization charts, let’s borrow the thinking that competitive shooters actually use to stay on the wagon.
USPSA Grandmaster Rob Epifania has a counter-intuitive piece of advice he gives almost everyone: under-commit on purpose. If you genuinely have time for five days a week at 45 minutes, write the plan for four days at 30 minutes. The point isn’t laziness — it’s that a slightly-too-easy schedule is one you can keep, and every promise you keep to yourself makes the next session easier to start. Then the extra day, the extra 15 minutes, stops feeling like a chore and starts feeling like a bonus your brain rewards you for. Compare that to the all-too-common pattern: you draft an ambitious six-day plan, miss day three, feel like you’ve already failed, and the whole thing quietly dies by week two. Most people don’t have a motivation problem — they have a plan that was never survivable in the first place.
The second mistake is trying to fix everything at once. A useful filter here is the 80/20 rule: roughly 20% of what you could practice produces 80% of your score improvement, so structure your limited minutes around that vital 20%. In practice this means picking two or three focus points per training block — never ten. As Epifania puts it, you’re not going to get meaningfully better at ten things at once; pick the two or three that move the needle, hammer those, and your scores climb. For a newer shooter that vital 20% is almost always gun handling — the draw and the reload. Once those feel automatic, the bigger gains shift to target transitions and shooting while moving, which is exactly the four-area framework world champion JJ Racaza drills relentlessly: the draw, reloads, transitions, and movement. Notice none of those require live ammo. That’s the whole reason dry fire is so powerful, and why a champion like Ben Stoeger could reportedly reach Grandmaster on only a few thousand live rounds — the volume that made him came from dry practice at home.
The last piece is how you spend the actual minutes once you’re standing there. A simple structure that works: pick one drill, set a 3-, 5-, or 10-minute timer, and work that single drill until the timer runs out. Then take a one-to-two minute break to reflect — what went well, what you’d tweak next rep — and only then move to the next thing. That short, deliberate reset is where the learning consolidates, and the timer doing the boundary-keeping means you’re not idly flinging shots; every block has a start, a job, and a finish. This is, not coincidentally, the same timer you’re already holding for PAR work.
🎯 Copy this tonight (a 15-minute starter you can run with nothing but a phone and your airsoft pistol): Open the Airsoft Shot Timer App, then — Block 1 (5 min): draw to first shot on a PAR beep, target around 1.5 seconds, just trying to beat the beep cleanly. Block 2 (5 min): reload drill on a PAR beep, around 2.0 seconds. Block 3 (5 min): two targets, transition between them, let the timer tell you your splits. Tap to save the session and you’ve already got the first entry in a training log you’ll actually keep. That’s the entire “where do I even start” problem solved — no range trip, no live ammo, no $150 timer.
Step Three: Plan Training Cycles
Professional athletes use “periodization” to maximize training effectiveness. This concept applies equally to shooting training.
Basic Concepts of Periodization
The core idea of periodization is: Focus on different priorities during different periods to avoid stagnation from long-term single-focus training.
A complete training year can be divided into these phases:
| Phase | Duration | Focus | Volume | Intensity |
|---|---|---|---|---|
| Foundation | 6-8 weeks | Build technical foundation | High | Medium |
| Development | 8-12 weeks | Improve speed and overall skills | Medium-High | High |
| Competition | 4-8 weeks | Maintain condition, simulate matches | Medium | High |
| Rest | 2-4 weeks | Recovery, review, adjustment | Low | Low |
Foundation Phase Training Focus
The goal of the foundation phase is to establish solid technical fundamentals. This phase emphasizes correctness over speed.
Training Focus:
- Grip and shooting stance
- Trigger control (using coin method, dry fire practice)
- Aiming fundamentals
- Draw stroke breakdown practice
Typical Weekly Training Distribution:
- Dry fire training: 5 days × 20 minutes
- Live fire training: 1-2 sessions × 100 rounds
- Physical training: 2-3 sessions
Assessment Method:
- Weekly Dot Torture test
- Video recording of draw stroke for self-review
Development Phase Training Focus
The goal of the development phase is to increase speed based on correct technique and begin practicing combined skills.
Training Focus:
- PAR time training (progressively shorter target times)
- Multiple target transitions
- Shooting on the move
- Reload speed
Typical Weekly Training Distribution:
- Dry fire training: 5 days × 30 minutes
- Live fire training: 1-2 sessions × 150-200 rounds
- Physical training: 2-3 sessions
Assessment Method:
- Bill Drill, El Presidente test every two weeks
- Track PAR time achievement rate for each drill
Competition Phase Training Focus
The goal of the competition phase is to maintain peak condition and prepare for upcoming matches.
Training Focus:
- Simulate match scenarios
- Cold Start tests
- Mental conditioning training
- Pre-match visualization
Typical Weekly Training Distribution:
- Dry fire training: 4-5 days × 15-20 minutes (maintenance)
- Live fire training: 1 session × 100-150 rounds (light maintenance)
- Mental training: 10 minutes daily visualization
Notes:
- Reduce training volume 2-3 days before competition
- Avoid trying new techniques or equipment
- Focus on already-mastered skills
The Importance of Rest Periods
Rest periods are often overlooked but are crucial for long-term development.
Rest Period Activities:
- Reduce training volume (can drop to 30% of normal)
- Review season’s training log
- Analyze match videos
- Maintain and repair equipment
- Plan next season’s goals
Step Four: Design Weekly Training Plans
With overall cycle planning done, next is designing specific weekly training plans.
Training Frequency Recommendations
Based on your goals and available time, choose appropriate training frequency:
| Goal Level | Weekly Training Frequency | Description |
|---|---|---|
| Recreational | 2-3 times | Maintain enjoyment, slow progress |
| Amateur Competitive | 4-5 times | Steady progress, regional matches |
| Serious Competitive | 5-6 times | Active progress, aim for good results |
Dry Fire to Live Fire Ratio
Based on professional shooter experience, the ideal ratio of dry fire to live fire training is approximately 70:30.
Why is the dry fire ratio so high?
- Zero cost, allows massive repetition
- Focus on technique without recoil interference
- Practice anytime, not limited by range access
- More effective for building muscle memory
What live fire training provides that can’t be replaced:
- Validate dry fire training results
- Train recoil control
- Build shooting confidence
- Confirm point of impact
Weekly Training Templates
Here are three weekly training templates for different levels:
Beginner Weekly Training Plan (approximately 5 hours/week)
| Day | Training Type | Duration | Content |
|---|---|---|---|
| Monday | Dry Fire | 20 min | Draw breakdown practice, trigger control |
| Tuesday | Dry Fire | 20 min | Grip stance, aiming practice |
| Wednesday | Rest | - | - |
| Thursday | Dry Fire | 20 min | Reloads, draw combinations |
| Friday | Dry Fire | 20 min | Comprehensive review |
| Saturday | Live Fire | 1-2 hours | Dot Torture + Bill Drill + free practice |
| Sunday | Rest | - | Review week, plan next week |
Intermediate Weekly Training Plan (approximately 8 hours/week)
| Day | Training Type | Duration | Content |
|---|---|---|---|
| Monday | Dry Fire | 30 min | PAR time draws, target transitions |
| Tuesday | Dry Fire + Fitness | 30 min + 30 min | Moving shot dry fire, core training |
| Wednesday | Dry Fire | 30 min | Reloads, combination drills |
| Thursday | Rest | - | - |
| Friday | Dry Fire | 30 min | Pre-match simulation |
| Saturday | Live Fire | 2 hours | Cold Start + standard drills + stage simulation |
| Sunday | Light Dry Fire/Analysis | 30 min | Video review, next week planning |
Advanced Weekly Training Plan (approximately 12 hours/week)
| Day | Training Type | Duration | Content |
|---|---|---|---|
| Monday | Dry Fire + Fitness | 45 min + 45 min | High-intensity PAR training, full body workout |
| Tuesday | Live Fire | 2 hours | Technical specialty training |
| Wednesday | Dry Fire | 45 min | Weakness-targeted training |
| Thursday | Dry Fire + Mental | 30 min + 15 min | Pressure simulation, visualization |
| Friday | Light Dry Fire | 20 min | Maintain feel |
| Saturday | Live Fire/Match | 3-4 hours | Match or full simulation |
| Sunday | Rest/Analysis | 1 hour | Video analysis, strategy adjustment |
Step Five: Track and Adjust
Training plans aren’t set in stone. You need to continuously track progress and adjust based on actual conditions.
Establish a Training Log
A training log is the best tool for tracking progress. Record after each training session:
Basic Information
- Date, time, location
- Training type (dry fire/live fire)
- Training duration
- Ammunition consumed (live fire)
Training Content
- Drills practiced
- Performance on each drill (time, hit rate)
- PAR time achievement status
Self-Observations
- Physical state (mental alertness, fatigue level)
- Technical feel (which movements felt smooth/stuck)
- Areas needing improvement
Example Format:
Date: 2026-02-03 (Monday)
Type: Dry Fire Training
Duration: 30 minutes

Training Content:
- Draw practice × 30 (PAR 1.5 sec): Achieved 25 times
- Reload × 20 (PAR 2.0 sec): Achieved 18 times
- Target transitions × 15 sets

Observation Notes:
- Draw stage 3 (presentation) slightly slow, needs work
- Eyes looking down during reload, need to fix
- Overall condition good

Next Focus: Concentrate on draw presentation stage
A log full of numbers is half the picture, though. The other half is a 60-second reflection at the end of each session, and there’s a neat structure for it borrowed from sports psychology — the ESP framework (from Dr. Nate Zinsser’s The Confident Mind). Before you put the gun away, jot down three things: Effort — where did you genuinely push and feel proud of the work; Success — what small win happened, even a single clean draw you nailed; and Progress — where are you measurably better than last week. Most shooters obsess over everything they did wrong and wonder why they feel demoralized; champions deliberately study what went right so they get more of it, because what you think about is what you get more of. Add one forward-looking line — “next time, dot in the center, watch it lift” — phrased as the action you want, not the mistake you want to avoid. Your training app’s history tab is the perfect home for these notes: the times prove the progress, and the words remind you why.
Regular Assessments
Set fixed assessment time points:
Weekly Assessment
- Compare this week’s training volume with last week’s
- Review PAR time achievement rate trends
- Identify biggest improvements and challenges of the week
Monthly Assessment
- Re-test baseline drills
- Compare differences with previous month
- Evaluate if training focus needs adjustment
Quarterly Assessment
- Comprehensive review of goal achievement
- Analyze training log trends
- Adjust next quarter’s training cycle
When to Adjust the Plan
These situations require training plan adjustments:
Need to increase difficulty:
- PAR time achievement rate exceeds 80% for 2 consecutive weeks
- Baseline test scores consistently improving
- Training feels too easy
Need to decrease difficulty:
- PAR time achievement rate below 50% for 2 consecutive weeks
- Baseline test scores declining
- Signs of overtraining appear (persistent fatigue, decreased motivation)
Need to change focus:
- One skill has reached target, need to shift focus
- New weakness discovered that needs priority attention
- Competition requirements change
FAQ
Q1: I don’t have much time, can only practice 15 minutes a day. Is it useful?
A: Yes! 15 minutes of quality dry fire training is more effective than 1 hour of aimless practice. The key is:
- Focus on 1-2 technical points each time
- Use Shot Timer to ensure you have goals
- Stay highly focused, don’t check your phone while practicing
- Stay consistent — 15 minutes daily adds up significantly
Q2: Should I work on speed or accuracy first?
A: Accuracy first, then speed. This is the consensus of almost all professional coaches. The reasons:
- Fast incorrect movements form bad habits that are hard to correct
- Correct slow movements can gradually speed up
- “Slow is smooth, smooth is fast”
Recommendation: Don’t pursue speed until you can complete movements 100% correctly.
Q3: How often should I compete?
A: This depends on your goals:
- Beginners: Watch 1-2 matches first, then compete every 2-3 months
- Intermediate: Participate in 1-2 local matches monthly, 1 larger match per quarter
- Advanced: Based on competition schedule, typically 2-4 matches monthly
Competition is the best training and the best test. Don’t wait until you’re “ready” to compete — you’ll never be completely ready.
Q4: I’m frustrated because I keep missing PAR times during training. What should I do?
A: This means your PAR time is set too aggressively. Recommendations:
- First measure your current comfortable speed
- Set PAR time at 90% of comfortable speed (just slightly faster)
- When achievement rate exceeds 80%, shorten by 5-10%
- Progress gradually, don’t jump too much at once
Remember: The purpose of training is to build confidence, not destroy it.
Q5: Will dry fire training create bad habits?
A: No, provided your movements are correct. The risks of dry fire training are:
- Repeating incorrect movements reinforces errors
- No recoil means can’t train recoil control
- May become overconfident
Solutions:
- Regularly validate dry fire results with live fire
- Video record and review your movements
- Occasionally get feedback from coaches or experienced shooters
Q6: How should I adjust training before a competition?
A: Adjustment recommendations for 1-2 weeks before competition:
- Training volume: Reduce by 30-50% to avoid fatigue
- Training content: Focus on already-mastered skills, don’t try new things
- Mental preparation: Increase visualization training
- 2-3 days before: Light dry fire to maintain feel
- Competition day: Execute your established pre-match routine
Q7: I don’t have access to live fire, can only use airsoft. Is this training useful?
A: Very useful! Advantages of airsoft training:
- Low cost, allows massive practice
- Operating feel close to real firearms
- Can practice at home
- Suitable for practicing most technical movements
What airsoft can’t replace:
- Real recoil control
- Mental pressure of live fire
Recommendation: If possible, occasionally do live fire training for validation; if not, airsoft training can still significantly improve your skills.
Q8: How do I know if I’m overtraining?
A: Warning signs of overtraining include:
- Persistent fatigue that doesn’t recover after rest
- Noticeably decreased training motivation
- Consistent performance decline (not occasional)
- Increased irritability or low mood
- Decreased sleep quality
If these signs appear, recommendations:
- Mandatory rest for 3-5 days
- Reduce training volume by 50% for 1-2 weeks
- Review if training plan is too aggressive
- Ensure adequate rest and nutrition
Q9: Do I need an expensive shot timer to follow a training plan?
A: No — and this trips up a lot of beginners who assume they need a $130–$150 hardware unit before they can start. For everything in this plan (PAR-time draws, reload timing, splits, baseline tests, and a session history), a free shot timer app on your phone does the job. The Airsoft Shot Timer App sets PAR beeps for the timed blocks above and automatically logs each session so your progress tracks itself. Many shooters never buy a hardware timer at all; they run their entire dry fire program off the phone already in their pocket. Once you’re regularly competing and want a buzzer that registers shots in a loud match bay, a dedicated timer becomes nice to have — but it’s an upgrade, not a prerequisite. See our free shot timer app guide for how the PAR and history modes work.
Q10: Can I run this whole plan at home with just airsoft and dry fire?
A: Absolutely, and for most people that’s the smartest way to do it. The 70:30 dry-to-live ratio earlier in this guide already assumes the majority of your reps happen away from a live range, and an airsoft pistol with a holster lets you safely drill draws, reloads, transitions, and movement in your living room. Pair it with the free app’s dry fire / par mode to put a clock on every rep, and you’ve got a complete at-home training loop on a near-zero budget — exactly the setup many competitors use between range days. For drill ideas built specifically for at-home work, see our Complete Guide to Dry Fire Training.
Summary: Start Your Training Plan
Creating a training plan doesn’t need to be complicated. Start with these steps:
- Assess current level: Test baseline drills, understand your level
- Set goals: Use SMART framework to set short, medium, and long-term goals
- Plan cycles: Plan training cycles based on goals and available time
- Execute the plan: Train according to weekly schedule
- Track and adjust: Keep training log, regularly assess and adjust
Remember these principles:
- Consistency is more important than intensity: 20 minutes daily is more effective than 3 hours once weekly
- Quality is more important than quantity: 100 purposeful rounds beat 500 aimless shots
- Recording is key to progress: No recording means no management, no management means no progress
- Patience is a necessary virtue: Shooting skill improvement takes time to accumulate
Start now — tonight, with nothing but the phone in your pocket:
- Install the free Airsoft Shot Timer App
- Test your Bill Drill baseline time and save it as your “before” number
- Set a 4-week short-term goal
- Run the 15-minute starter block from earlier and log it
Your improvement starts today!
Related Articles
- Shot Timer App Complete Guide
- pistol drills by skill and par time
- Complete Guide to Dry Fire Training
- Complete Guide to Shooting Psychology
- IPSC Practical Shooting Complete Training Guide
- IDPA Defensive Shooting Complete Training Guide
- Complete Guide to Pistol Draw Techniques
- Complete Guide to Fast Magazine Reload
Put a Shot Timer in Your Pocket
Airsoft Shot Timer is a free shot timer app tuned for airsoft and Action Air — it picks up BB gun shots, tracks your split times, and saves you the cost of a $150+ hardware timer for IPSC/IDPA practice.

- Shooting Training
- Training Plan
- Dry Fire Training Program
- Periodization
- IPSC
- IDPA
- Shot Timer
- Dry Fire
- Live Fire
- Goal Setting
- Practice Schedule
- Free Shot Timer App
- 80/20 Training